Drawing a floor plan

New in version V2026.4.0.0: The “Draw Floor Plan” feature allows you to quickly, freely, and custom-design a floor plan using the mouse when creating a new commission.
 How to Draw a Freehand Floor Plan:
-
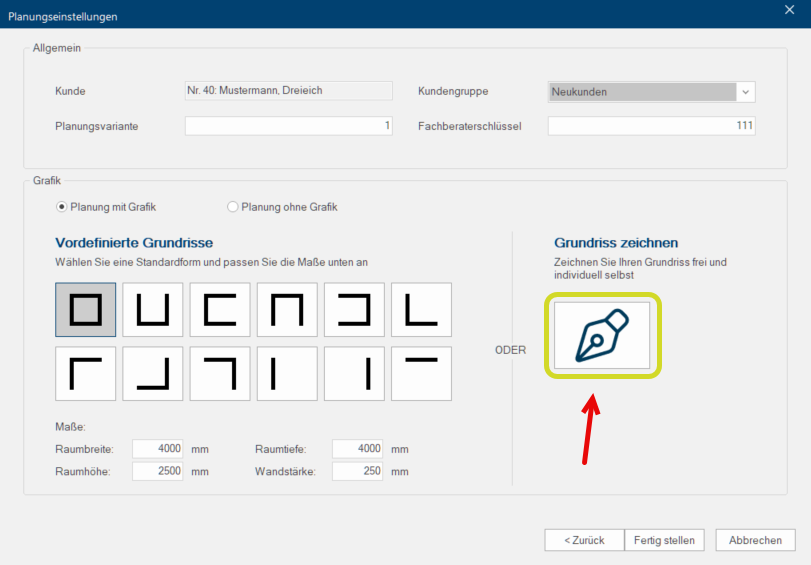
When creating a new commission in the Planning Settings dialog box, click Typically the LEFT mouse button is pressed once quickly, if not specified differently. Clicking will either mark an object, or when clicking on a button, the execution of the desired activity (e.g. OK, Cancel, Close). the “Draw Floor Plan” icon.
-
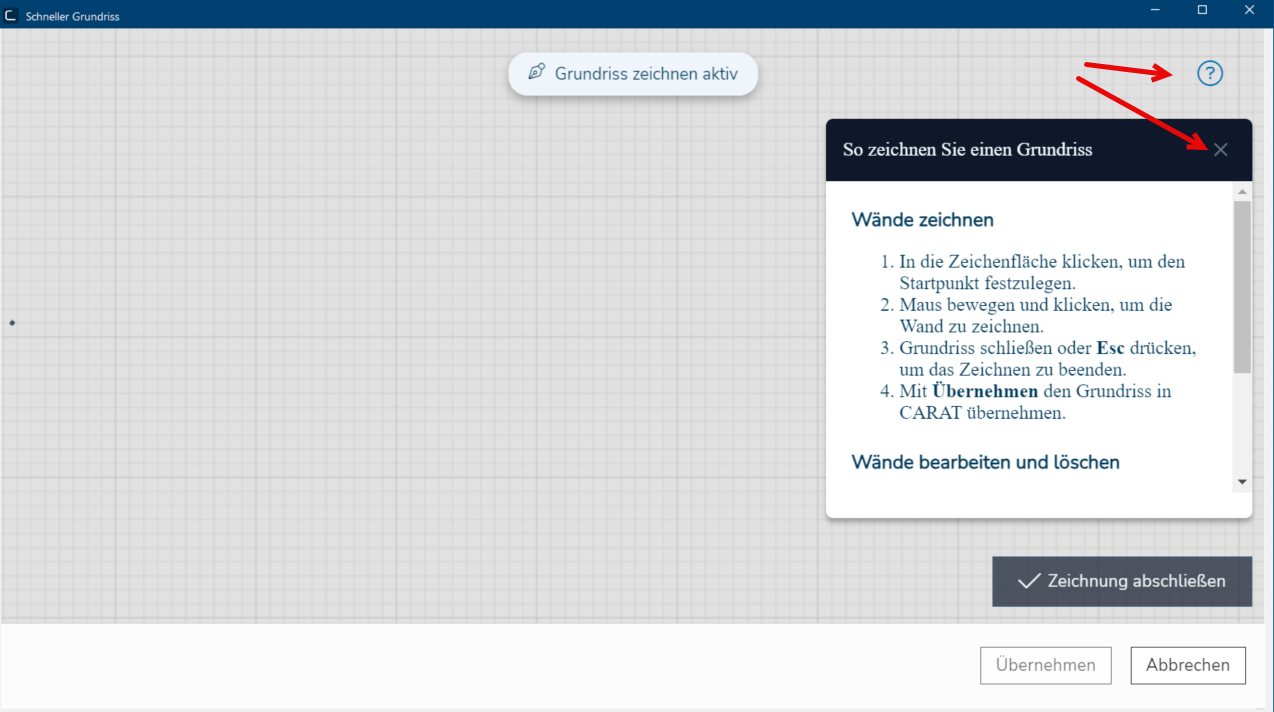
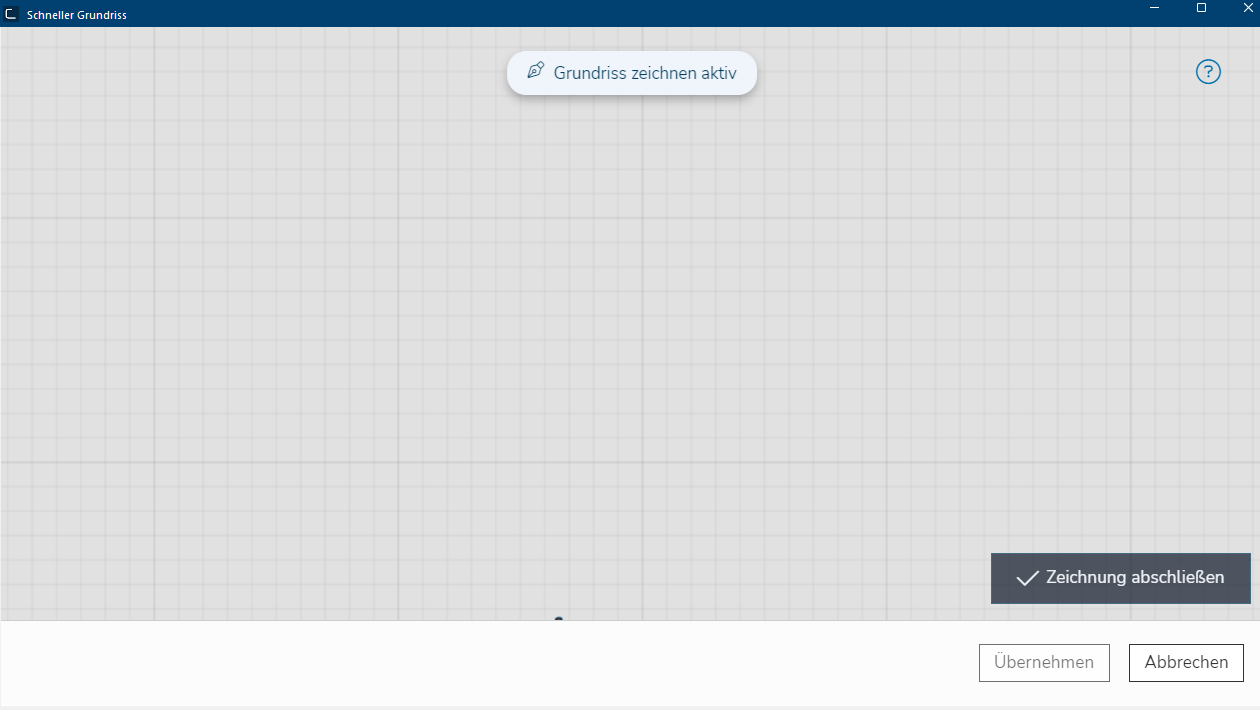
The “Quick Floor Plan” dialog box opens with a blank drawing area. A quick guide in the upper-right corner explains the editing steps. You can close it by clicking the X. You can access it again at any time by clicking the ?.
-
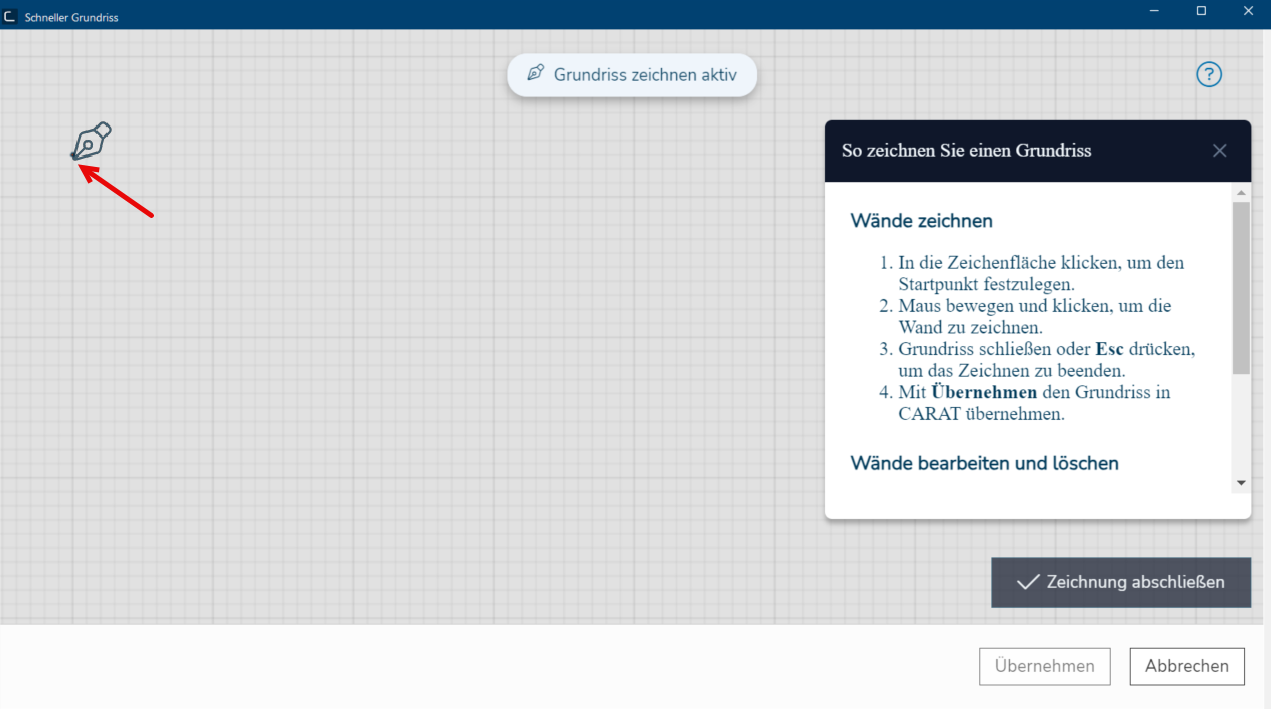
Move the mouse pointer within the displayed drawing area to the desired position for the first wall. The mouse pointer's position is displayed by the icon for Draw Floor Plan as soon as you move it.
-
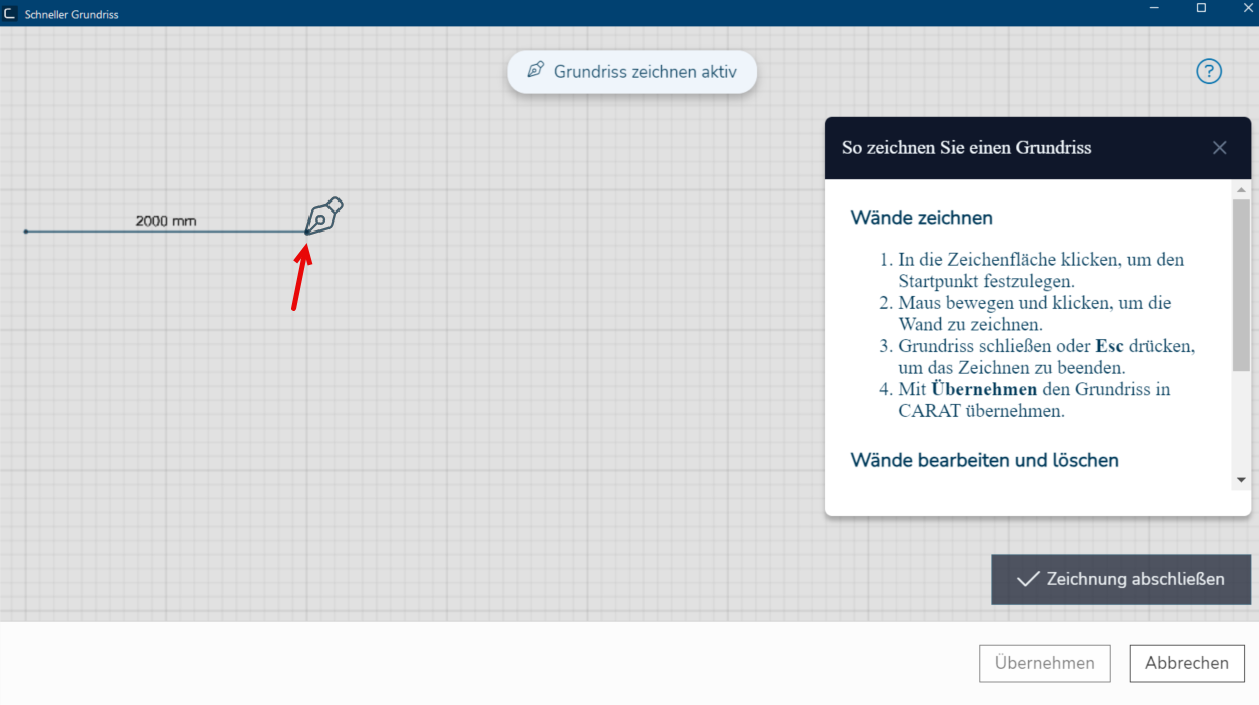
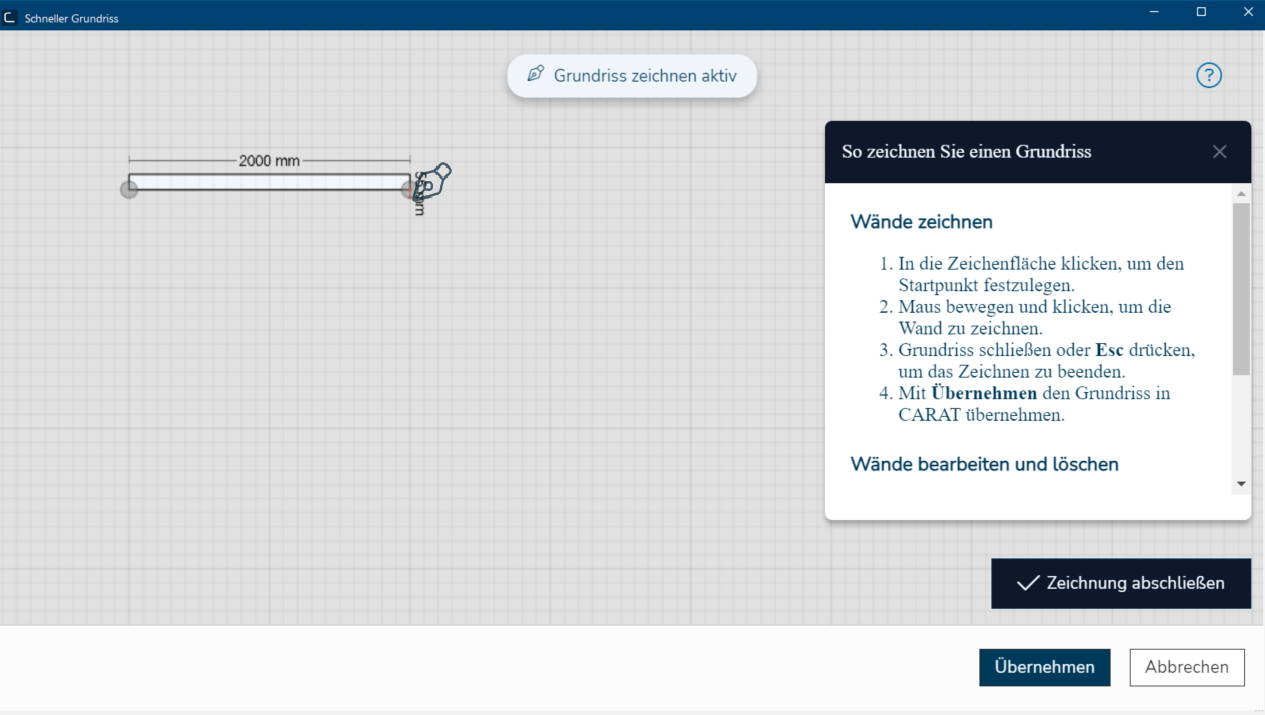
To draw the first wall, tap the left mouse button In dialogue windows you always find one or more buttons that can be activated by clicking on them. Typical functions for buttons are e.g. OK, Cancel, Apply. Buttons are always activated by a single click with the left mouse button. once to set the desired position. Drag the mouse pointer in any direction to draw the wall. The selected length is displayed as a dimension.
-
To create the drawn wall, tap the left mouse button at the end point. The wall is now displayed as a white bar, and a gray circle appears at each end point of the wall.
-
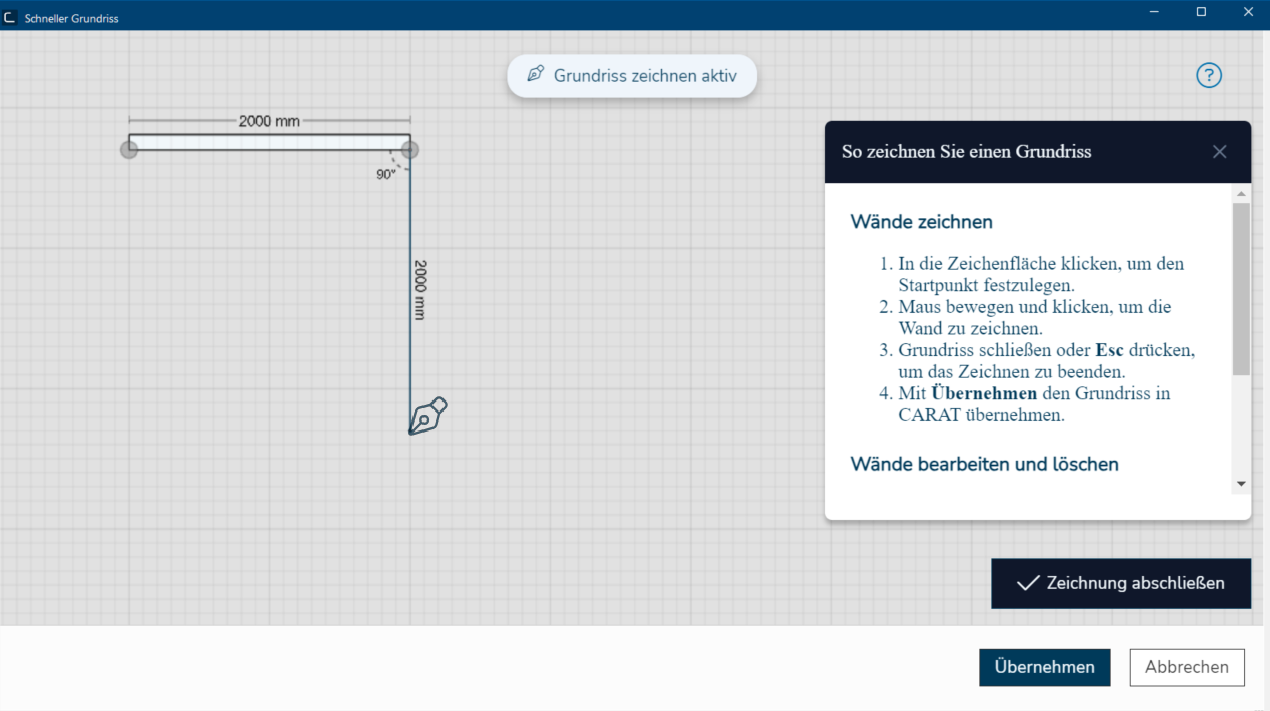
To draw the second wall, move the mouse pointer away from the corner point of the first wall's end position and stop when you have reached the desired wall length. The selected angle and the length of the wall are displayed as dimensions.
-
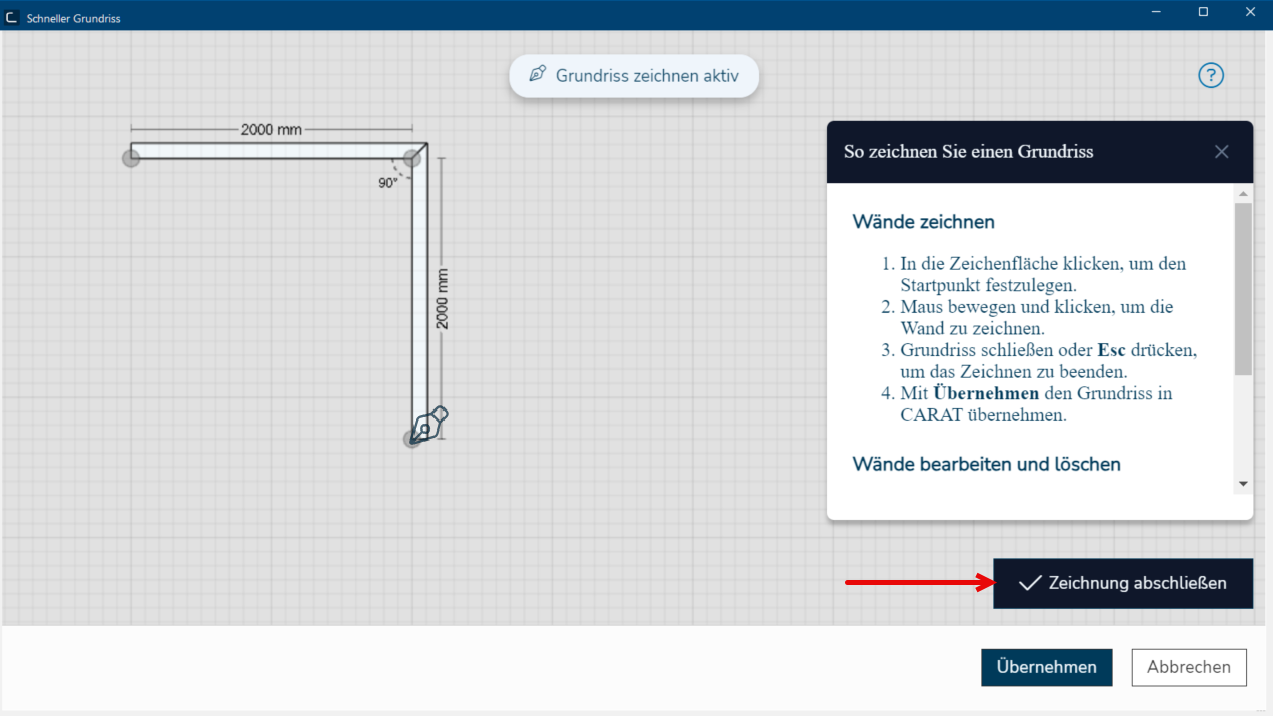
To create the second wall, tap the left mouse button again at the end point of the second wall. You can create additional Addition (in Latin: addere) is one of four basic operations in arithmetic. In primary school and in common language it is the expression used for the adding of two or more numbers. walls as described. As long as the floor plan is not yet closed, you can then close the open floor plan created from the walls by pressing ESC or clicking “Complete Drawing.”
-
When you close the floor plan by creating additional walls, the floor plan is automatically generated, enlarged, and centered on the screen.
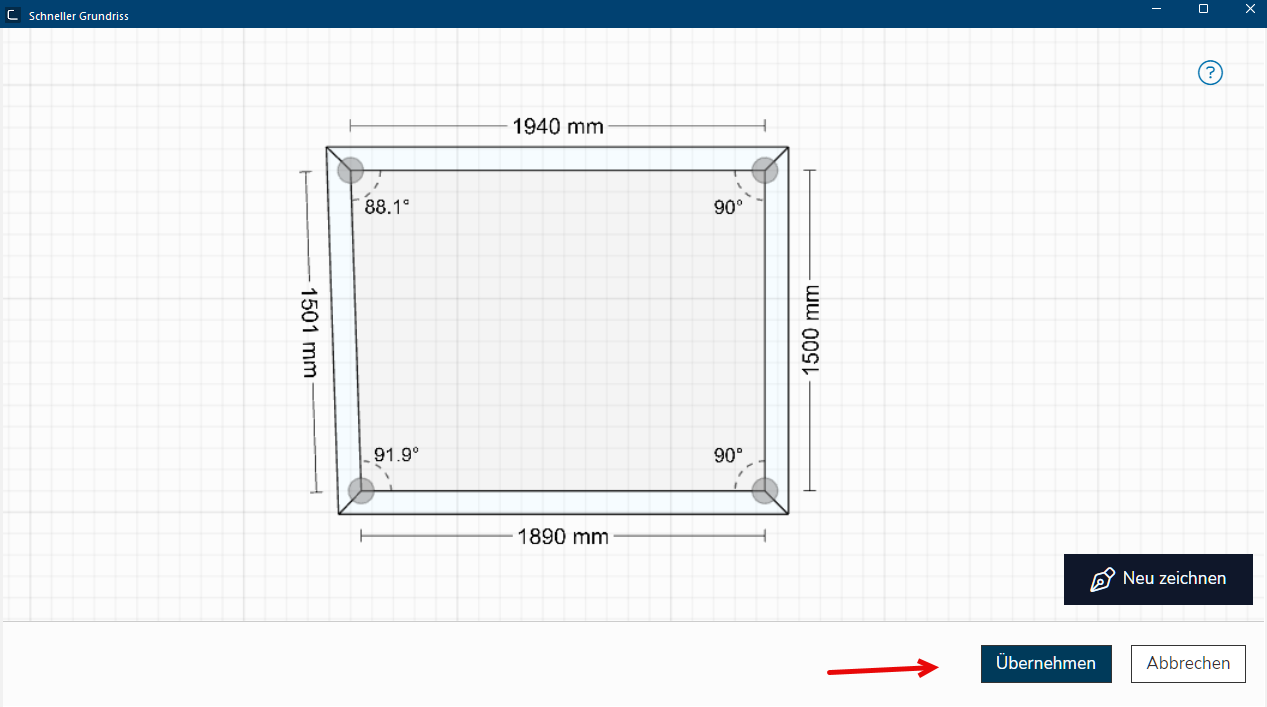 You can change the zoom level by scrolling the mouse wheel or using the + or - keys. You can move the floor plan by holding down the left mouse button in the planning area. This works for both open and closed floor plans.
-
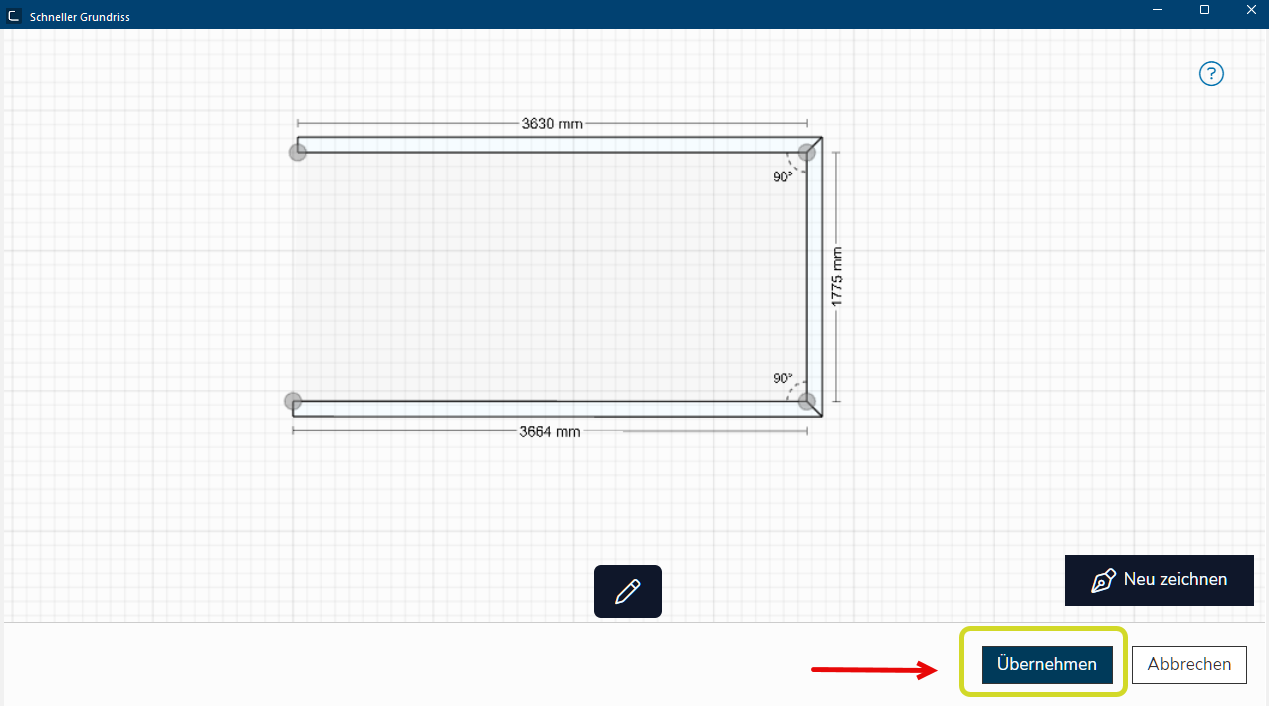
To transfer a closed or open floor plan you have created to CARAT, click the “Apply” button.
-
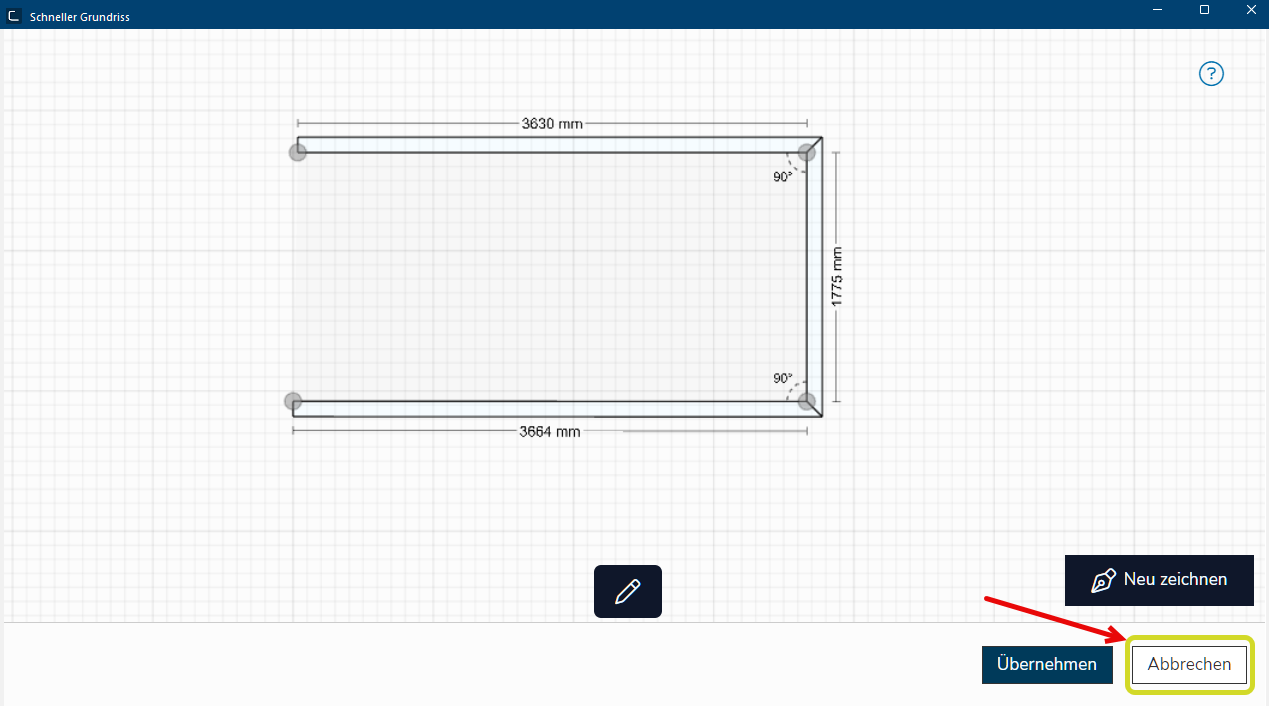
To cancel the floor plan drawing, click the Cancel button. The Quick Floor Plan dialog box will close without a warning, and the previously drawn floor plan will be deleted.
-
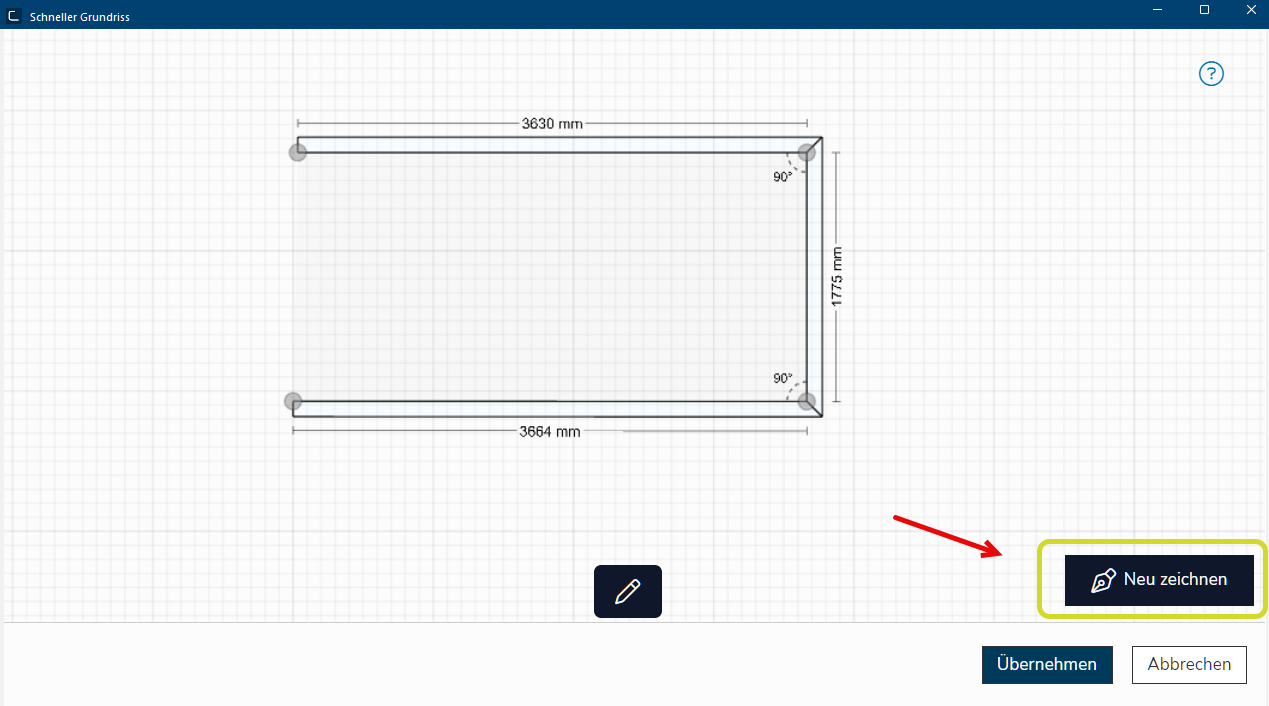
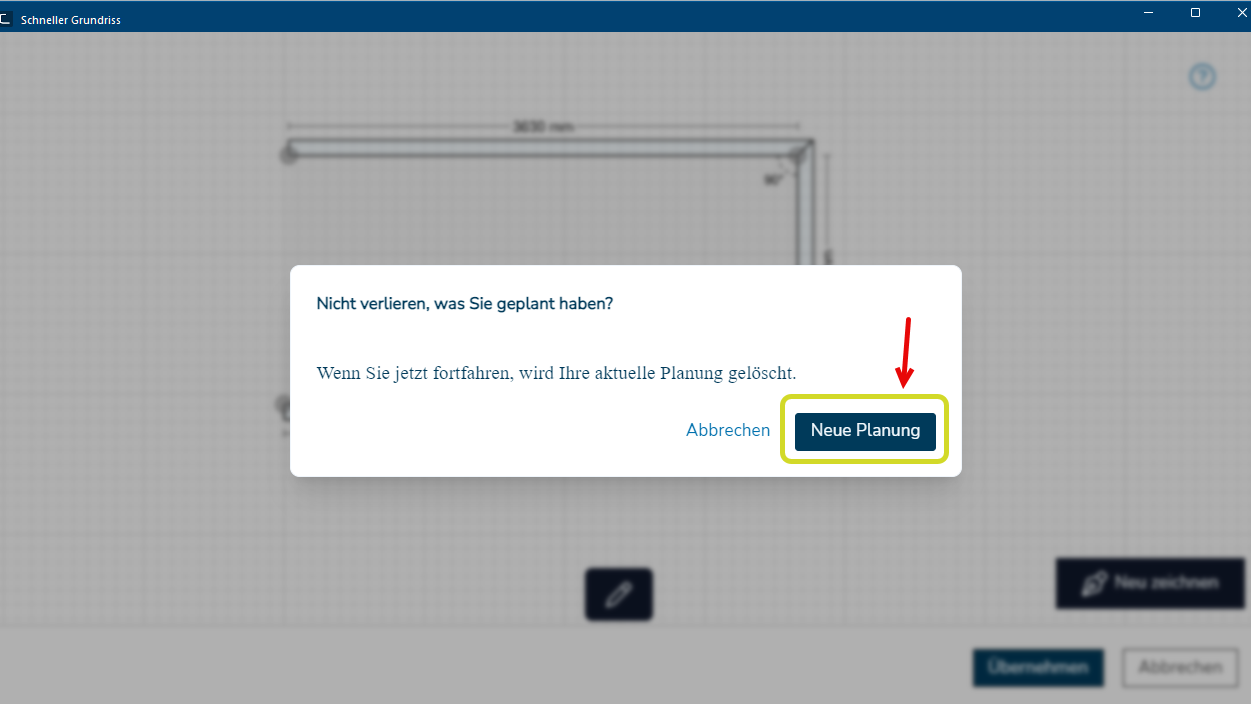
To redraw the floor plan, click the “Redraw” button. A warning message will appear, and after you click “New Planning,” you will see a blank drawing area again, and the old floor plan will be deleted.
Here's how to edit dimensions or delete walls in a floor plan you've created:
-
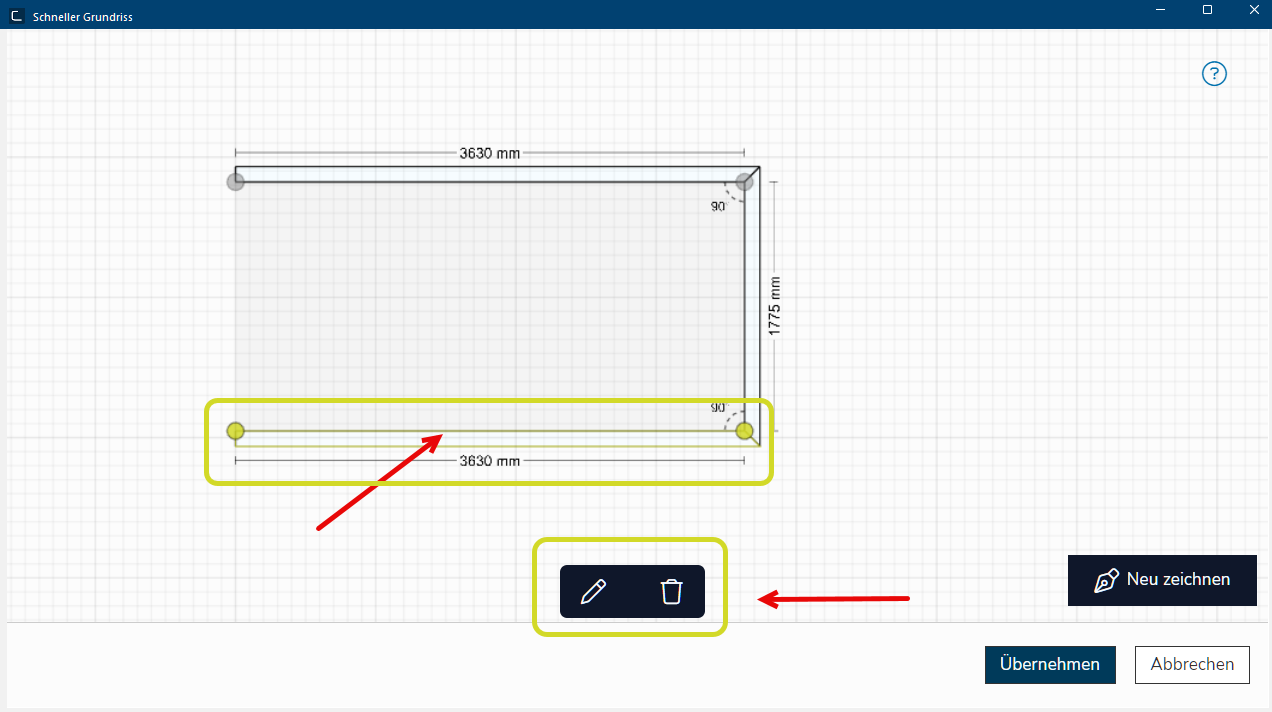
After creating your open or closed floor plan, click on the wall you want to edit or delete. A context menu In almost all Windows programs a click with the RIGHT mouse button opens a context menu containing a list of commands that are commonly the next step of a procedure. will appear, and the wall will be displayed with colored outlines and 2 green circles at each end.
-
To edit the dimensions of the selected wall, click the pencil icon in the context menu. A dialog box for editing the dimensions of the selected wall will open. Here, you can enter new values for the height, length, and thickness of the wall by overwriting the displayed values. As soon as you exit the edited field by pressing the Tab key or clicking in the next field, the floor plan will update An update designates a new version of a base software program, which fixes faults or contains small improvements. immediately. You can undo all changes by clicking Cancel.
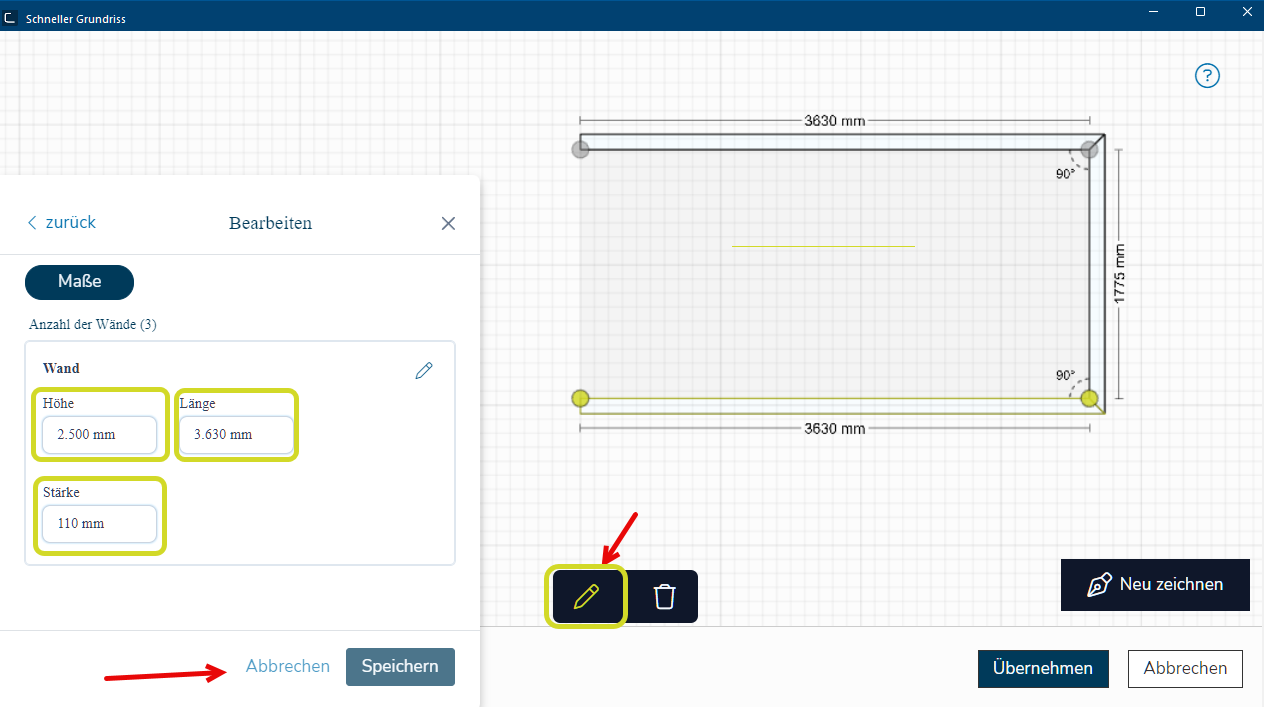 If the editing dialog and the floor plan overlap, you can move the view. To do this, click inside the drawing, then drag the floor plan to the right while holding down the left mouse button.
-
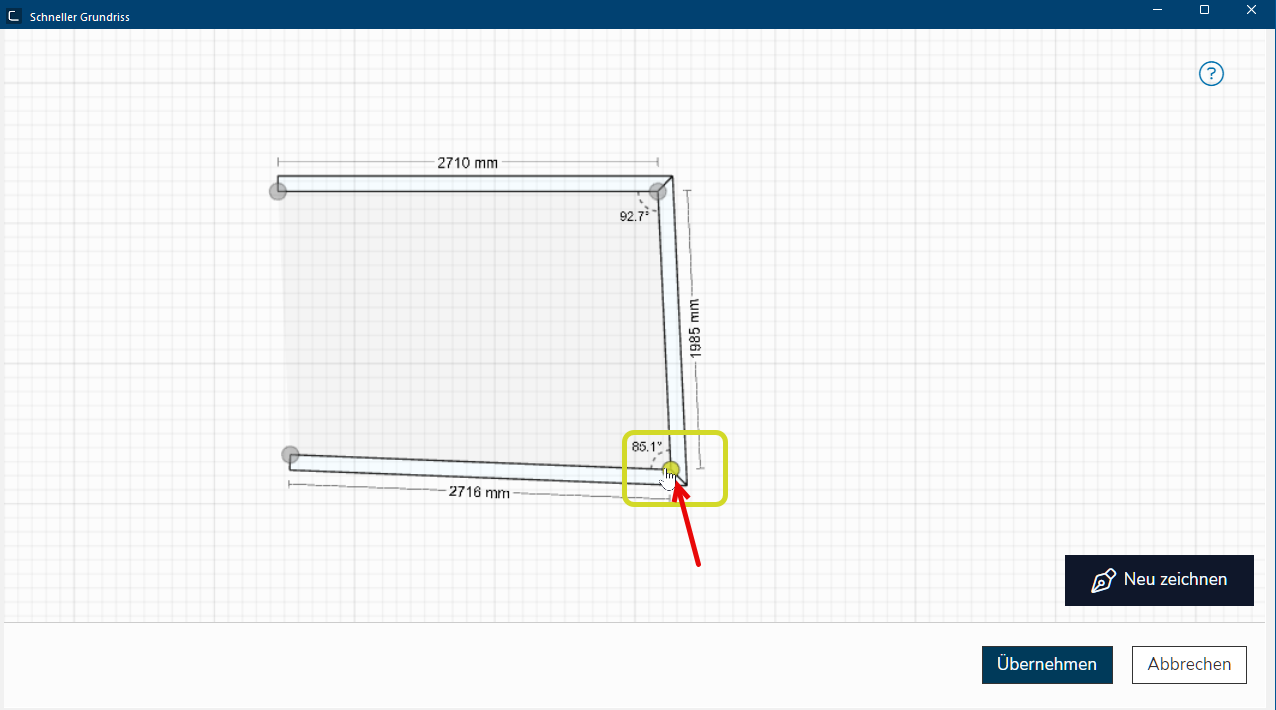
To edit the angle measurements, click on one of the gray circles at the corners of the walls. The circle will turn green, and you can change the angle measurement by dragging it while holding down the mouse button.
-
When you click “Apply,” the modified floor plan will be applied in CARAT.
Regardless of the editing options The word option (from Latin: optio = free will) used in computing means a choice. In CARAT it is normally used with a list box. described above, once you have imported the floor plan you created into CARAT, you can also edit dimensions and angles and delete walls directly in the floor plan view there.


