The Daylight

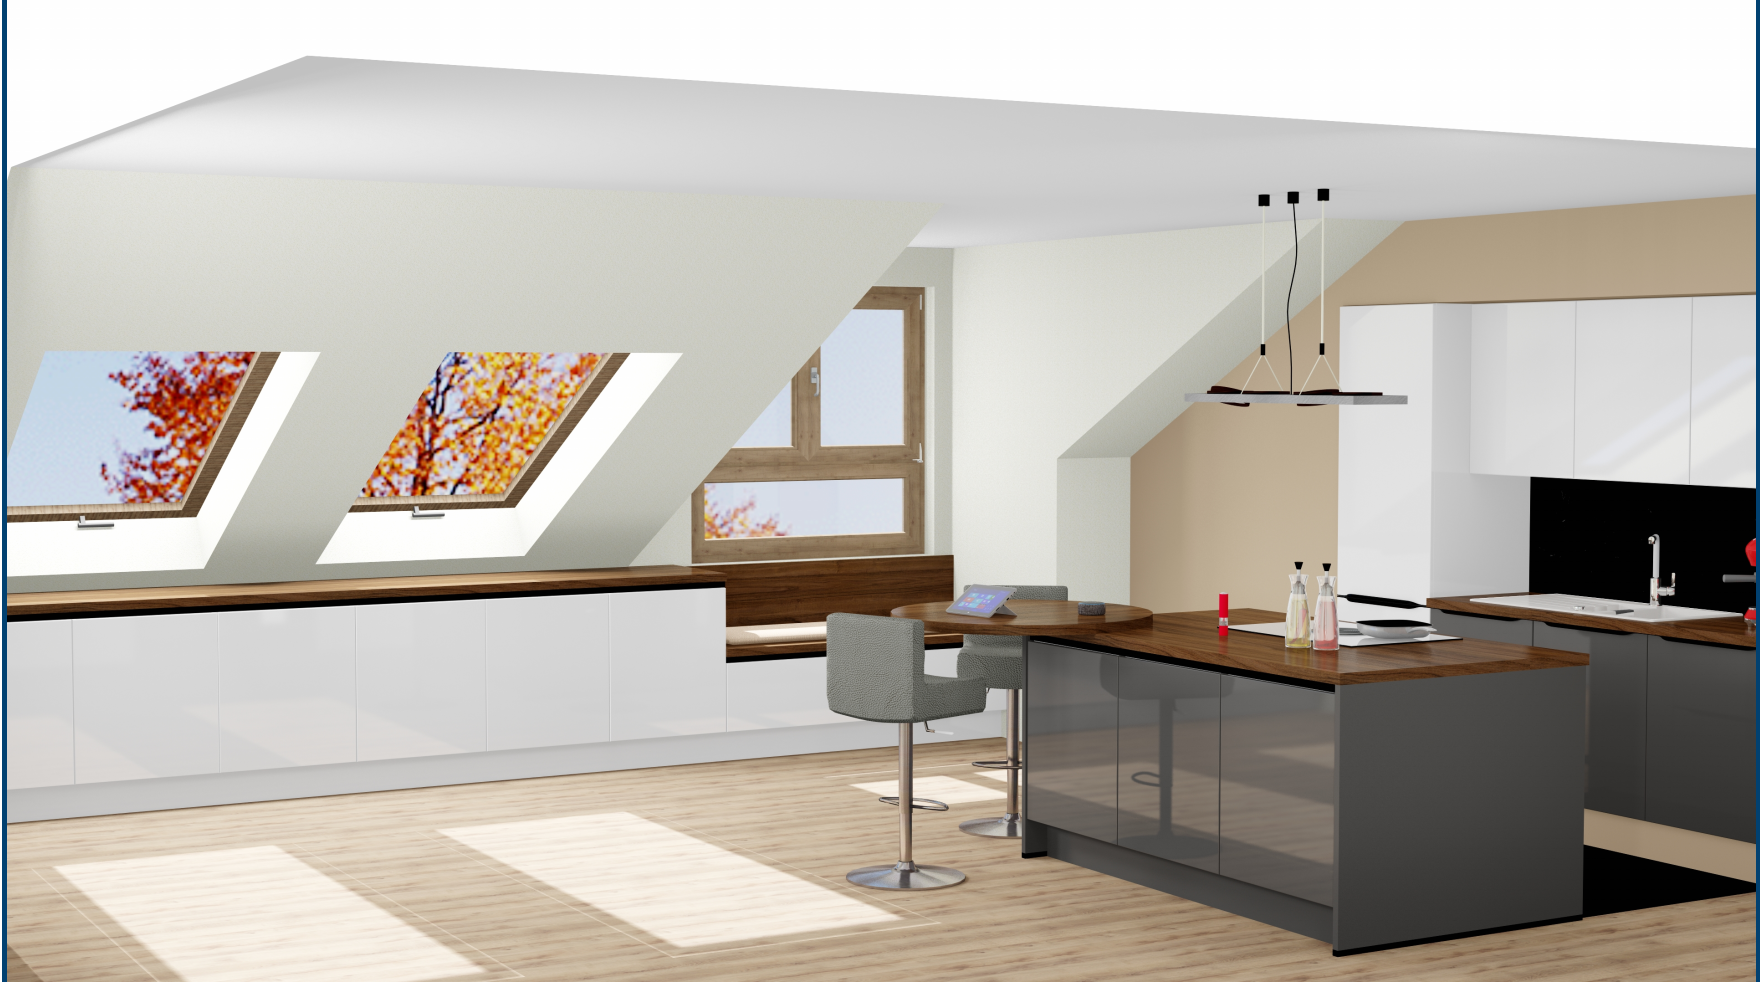
A realistic illumination as light source above a window Programs and files are shown in so called windows in the operating system of the same name. In CARAT each view (e.g. floor plan, article input, front view, perspective etc.) opens its own window. Multiple windows can be shown simultaneously for processing. If changes are made in one of these windows, this has an automatic effect on all other windows. can be created by the daylight function. In the process, the effect of sunlight that shines through the window into the room, in a particular angle and with a particular intensity is simulated. On the one hand, the room in the areas closer to the window appears brighter than in the areas further away. On the other hand, the scattering of light as well as the position of the sun can be simulated, by which the sunlight becomes visible by especially bright areas and appropriate cast shadows.
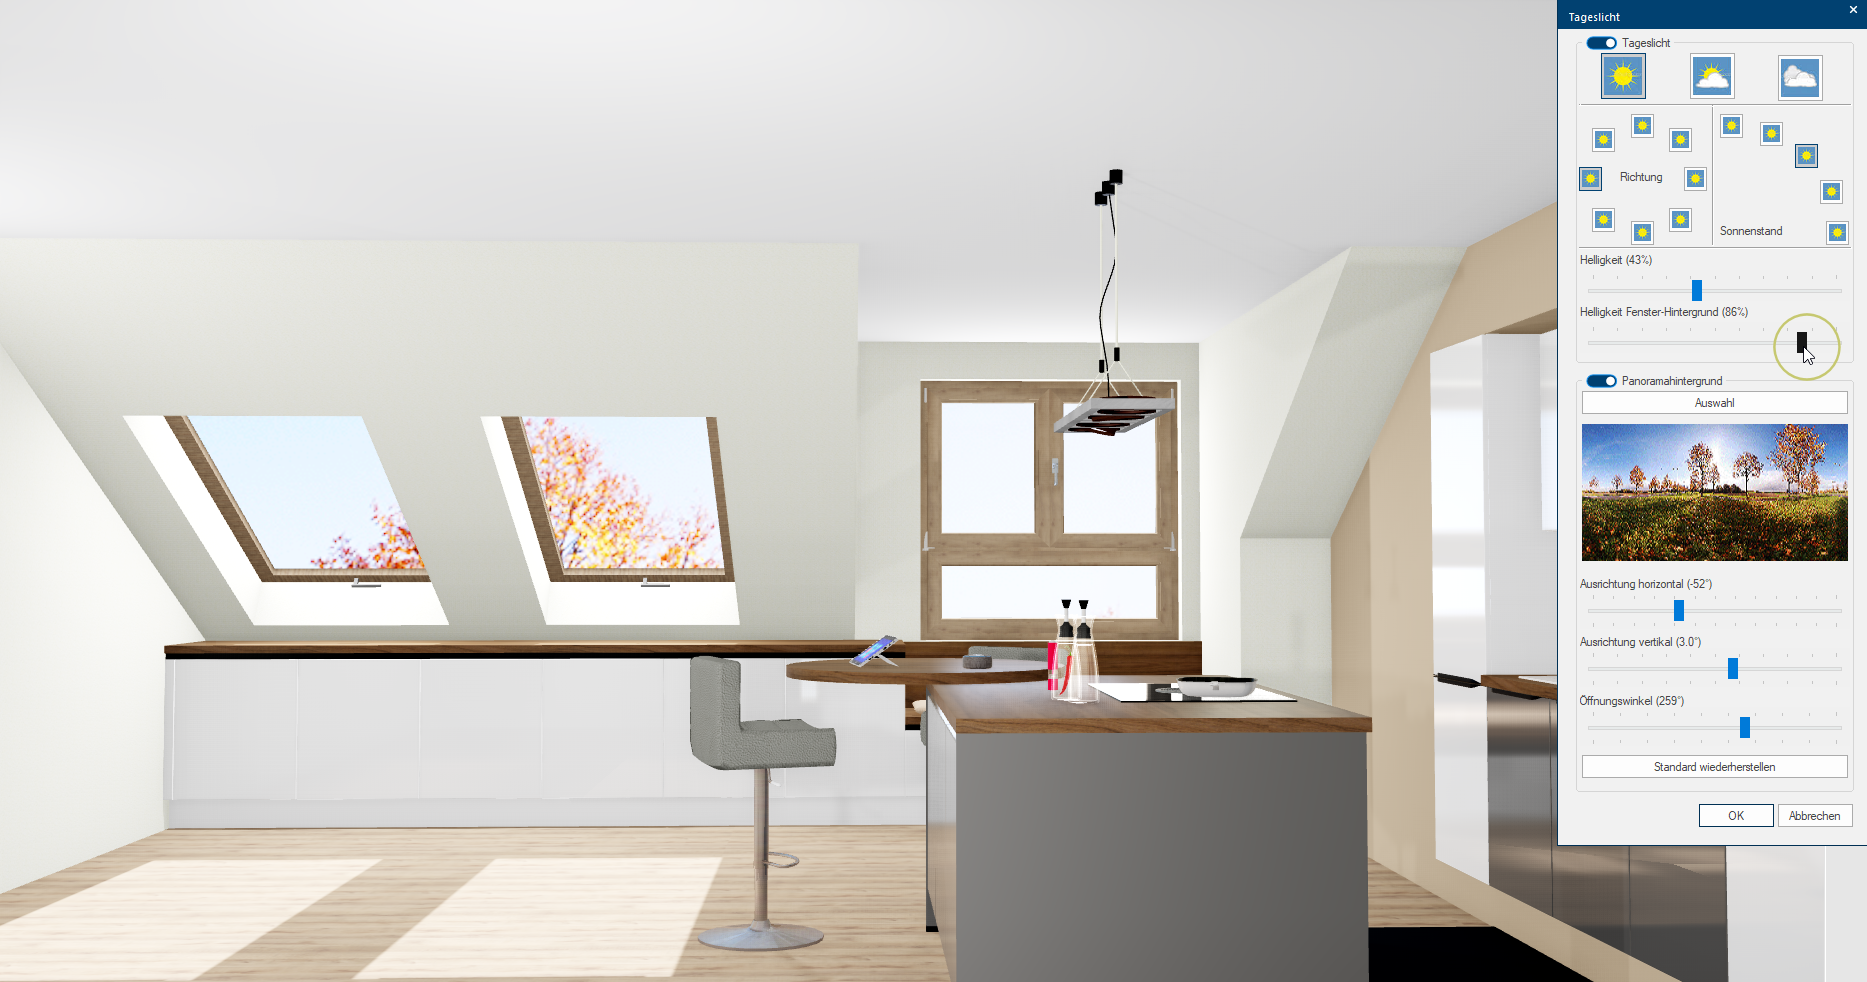
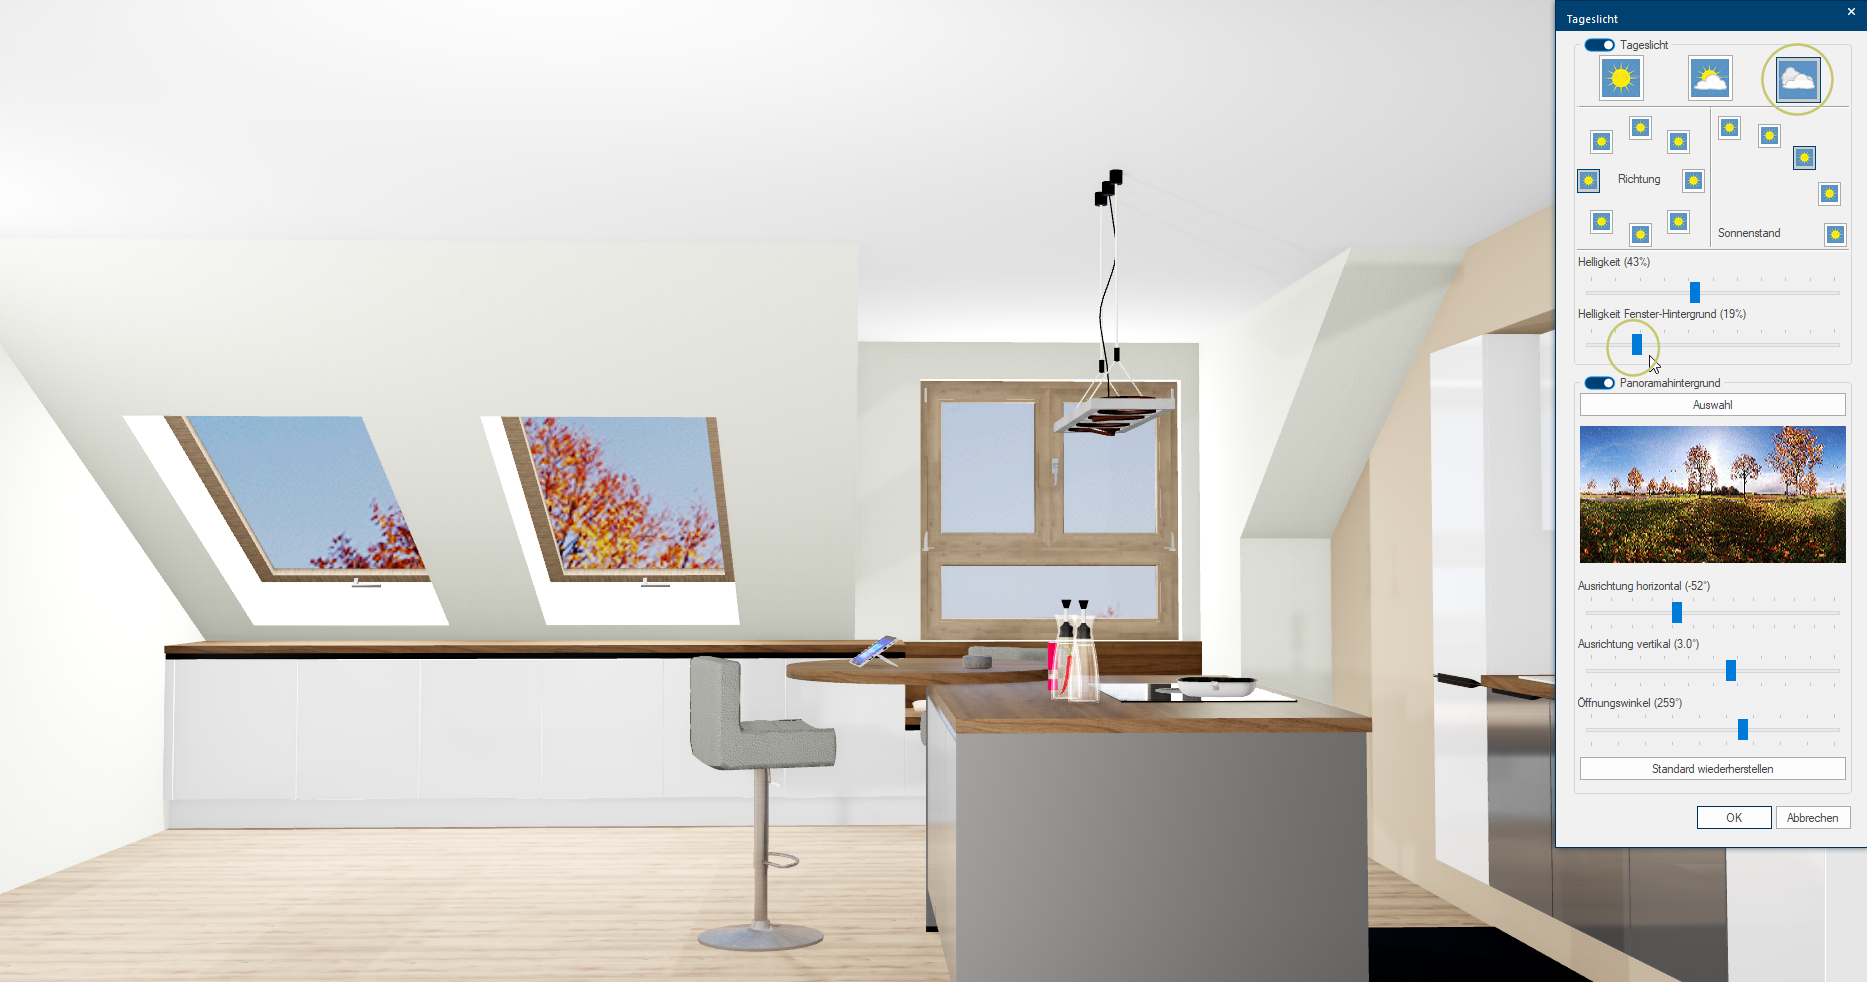
The following illustration should show this.
- You can access the daylight settings via the Modify daylight option The word option (from Latin: optio = free will) used in computing means a choice. In CARAT it is normally used with a list box. on the Perspective index card Some dialogue windows are too voluminous, therefore the functions are separated into indexed groups. The subgroup names typically appear on the tab of the index card at the top of the dialogue and can be selected by clicking on the appropriate tab. of the menu ribbon.
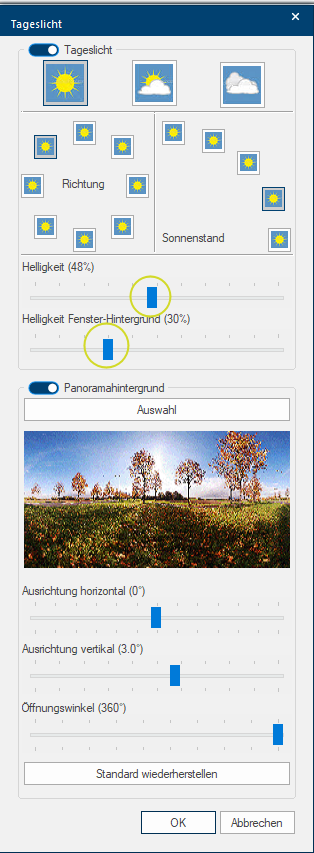
- In the Daylight dialogue you can select between several types of light reproduction. Selectable are:
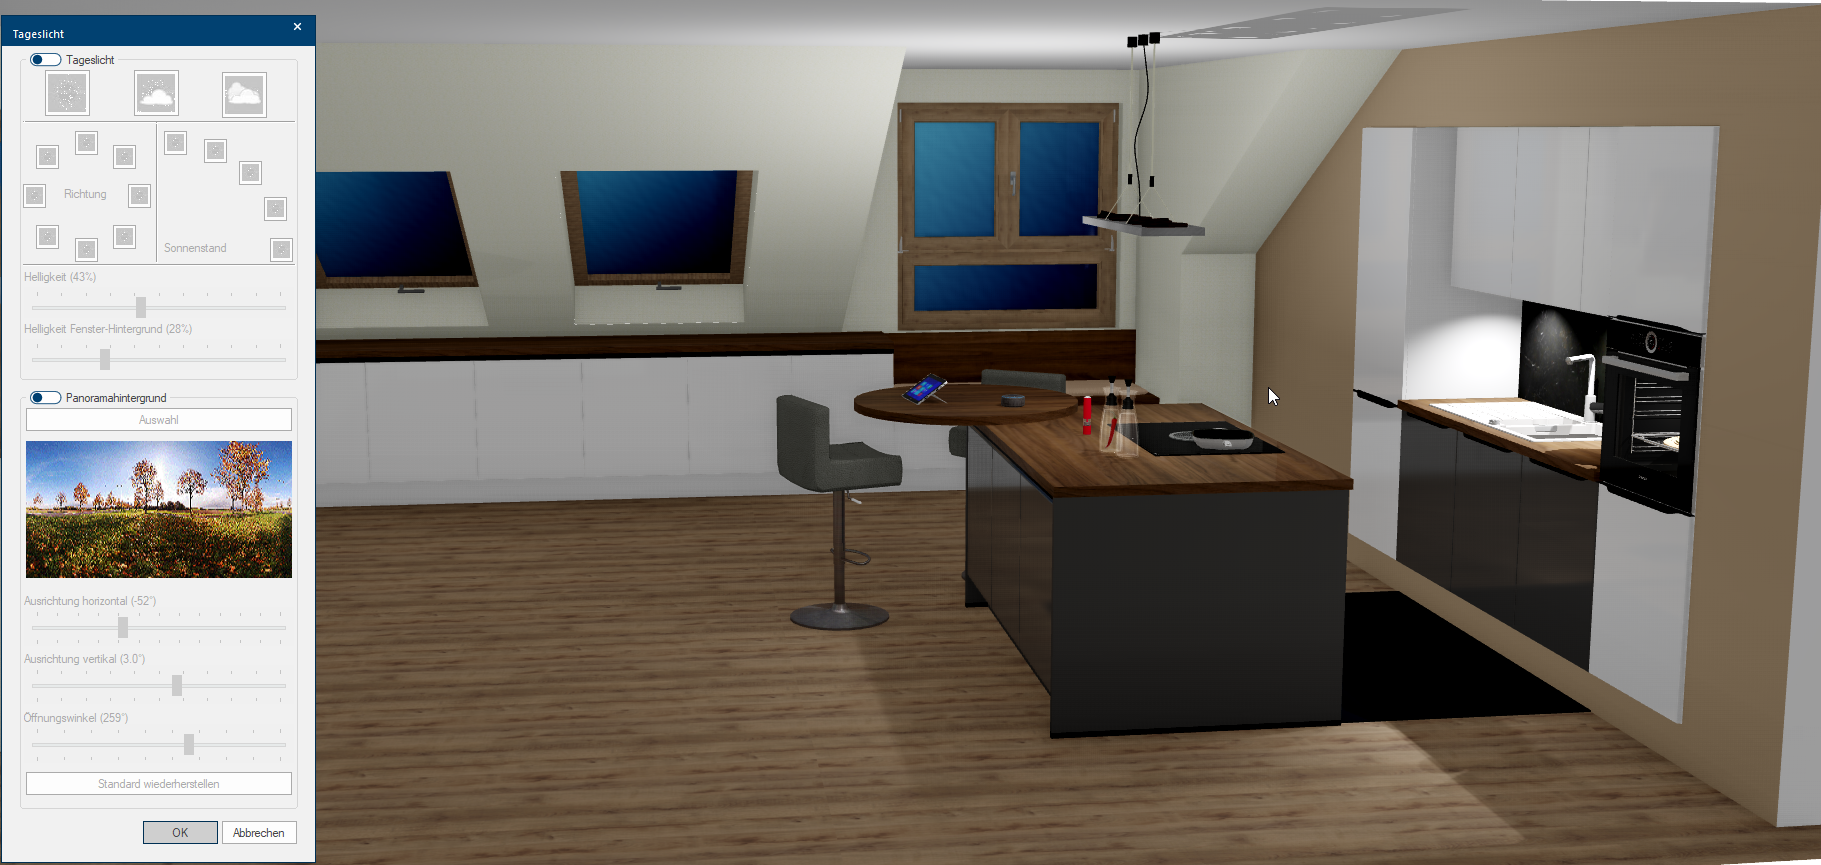
- The Daylight switch (to activate and deactivate the daylight settings). When daylight is deactivated, the brightness in the room depends on the brightness and ambience values set in the menu bar and the artificial light sources that are switched on.
- Sunny symbol (direct sunlight, sharp cast shadows)
- Sunny/clouded symbol (diffuse sunlight and cast shadows)
- Clouded symbol (no direct sunlight, normal cast shadows).
- You can set the total brightness of the daylight by using the Brightness sliding controller.
- The brightness of the background of the window can be influenced by using the Brightness window background sliding controller.
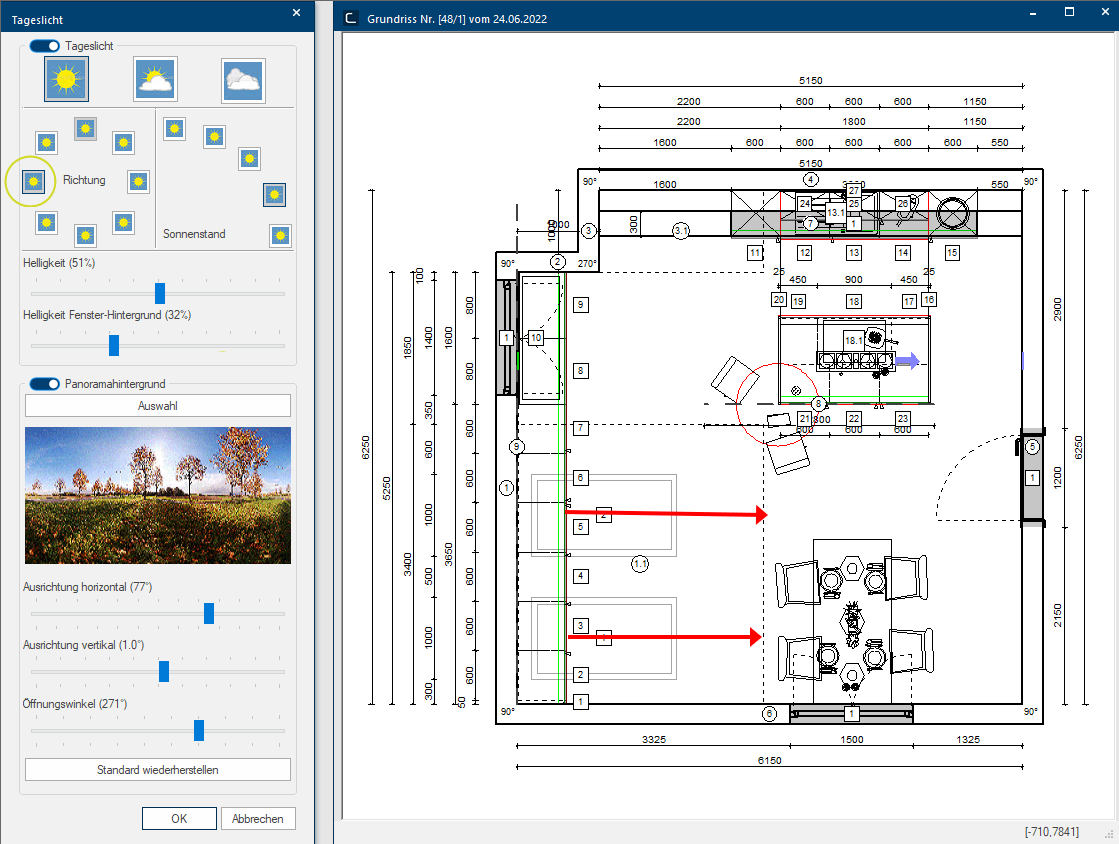
- You can use the Direction area to define from which direction the sun should illuminate your scene. The position of the sun is always in reference to the floor plan. If, for example, the sun should shine trough the left skylight of the displayed floor plan, you will have to select the fitting left symbol as specification of the position.
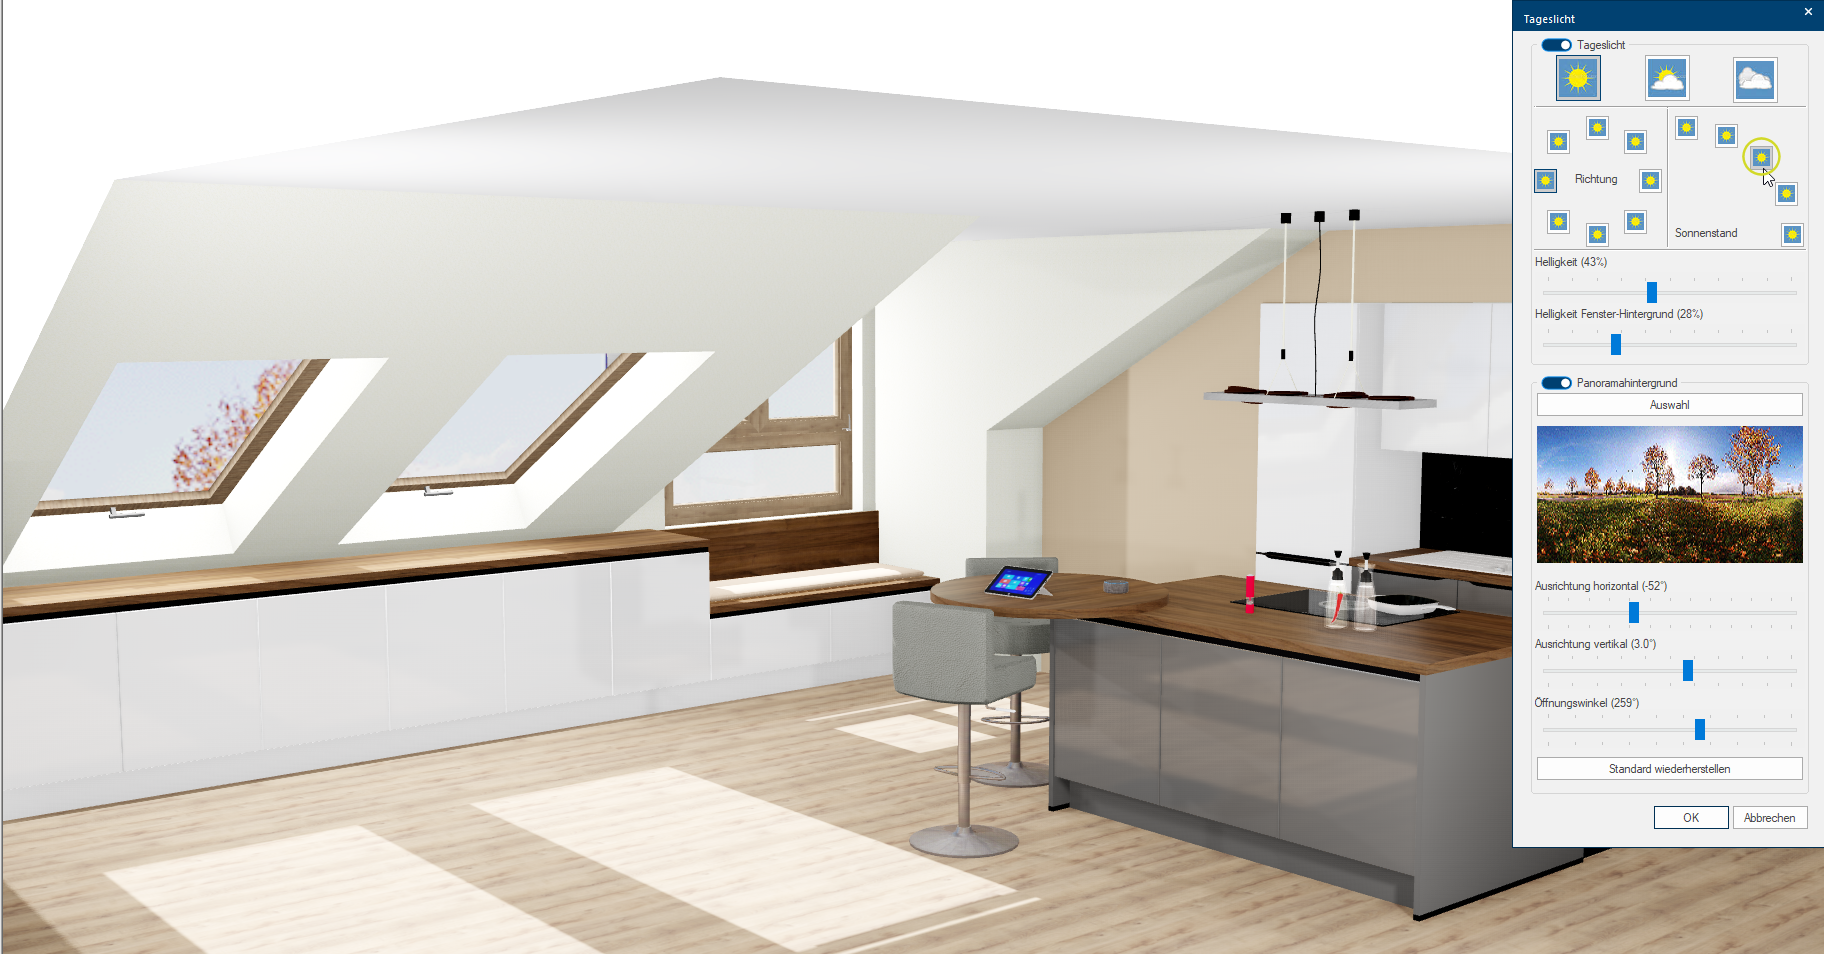
- By using the Position of the sun area, you can define the angle in which the sunlight shines into the room.
|
|
Note:
The Brightness of the window background can be adjusted using a separate slider. This makes it possible to brighten up the texture In computer graphics, one uses textures as surfaces of a 3D models. for the window background strongly (overexpose) if the sun shines brightly, while showing the texture with a normal light when the sky is cloudy. If you want to display the kitchen with artificial light, i.e. in the evening, the daylight can be switched off completely by clicking Typically the LEFT mouse button is pressed once quickly, if not specified differently. Clicking will either mark an object, or when clicking on a button, the execution of the desired activity (e.g. OK, Cancel, Close). on the Daylight switch. You can find out more about the setting options for artificial light under: Artificial light
Tip:
After you have set a suitable illumination for your perspective, we recommend that you save some beautiful perspective images for your customer using the sidebar Gallery. You can find more information here: The Sidebar - Gallery
