The Perspective

CARAT can create a perspective view of the scene, while planning the kitchen at any time. You can move the virtual camera for the perspective view freely within the scene. Thus allowing you to reach every position within or outside the room. Besides the usual movement of the virtual camera, you can as an alternative also move the room in front of the camera. Depending on the requirements, you can switch between camera mode and room rotation at any time.
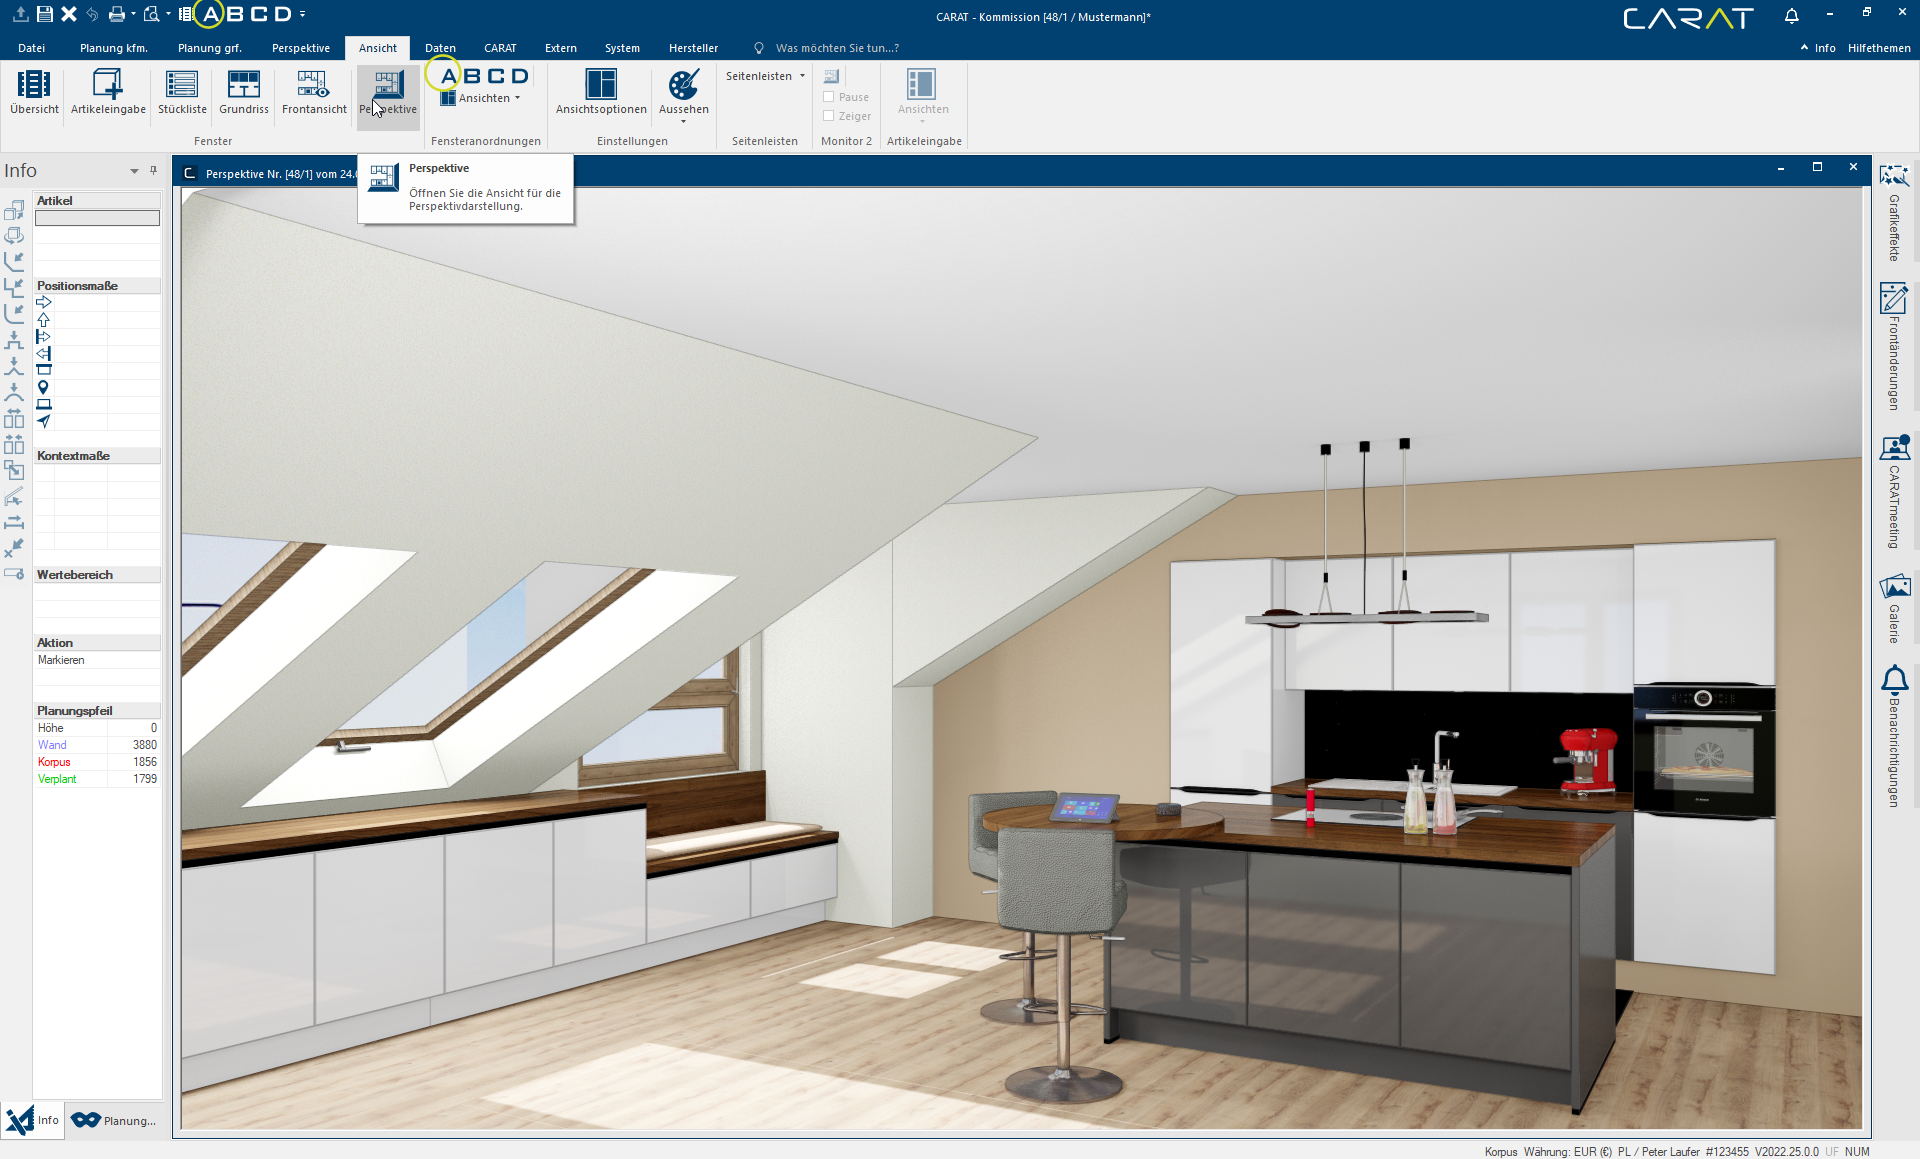
For this, you can open the window Programs and files are shown in so called windows in the operating system of the same name. In CARAT each view (e.g. floor plan, article input, front view, perspective etc.) opens its own window. Multiple windows can be shown simultaneously for processing. If changes are made in one of these windows, this has an automatic effect on all other windows. for the perspective at any time by clicking Typically the LEFT mouse button is pressed once quickly, if not specified differently. Clicking will either mark an object, or when clicking on a button, the execution of the desired activity (e.g. OK, Cancel, Close). on the relevant symbol for the perspective on the index card Some dialogue windows are too voluminous, therefore the functions are separated into indexed groups. The subgroup names typically appear on the tab of the index card at the top of the dialogue and can be selected by clicking on the appropriate tab. View in the menu ribbon. As an alternative, you can use window arrangement A as well, you can reach arrangement also via the index card View or via the quick access toolbar.
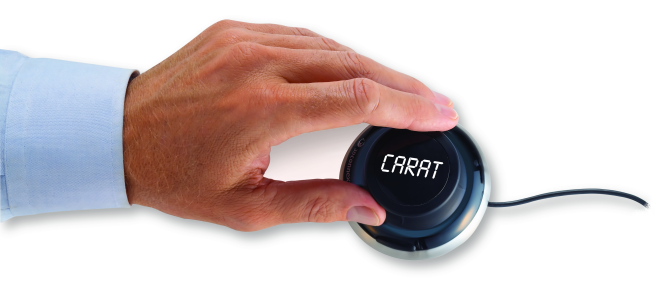
The movement in the scene is usually done by using a pie menu or the keyboard. However, CARAT also supports additional Addition (in Latin: addere) is one of four basic operations in arithmetic. In primary school and in common language it is the expression used for the adding of two or more numbers. input devices like a 3D-mouse. With it, you can comfortably operate the longitudinal motion alongside the three axes and additionally the turn and tilt movements with one hand.
The Controls
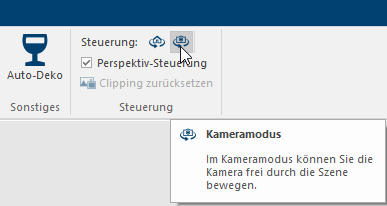
You can switch between room rotation and the camera mode in the Control group of the Perspective index card. The mode that is active will be shown by the relevant symbol with a grey background.
|
|
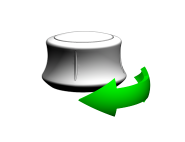
Room Rotation |
When room rotation is activated you can rotate the room in front of the camera. |
|
|
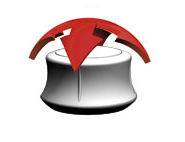
Camera mode |
In camera mode you can move the camera freely through the scene. |
The difference between camera mode and room rotation
The camera mode
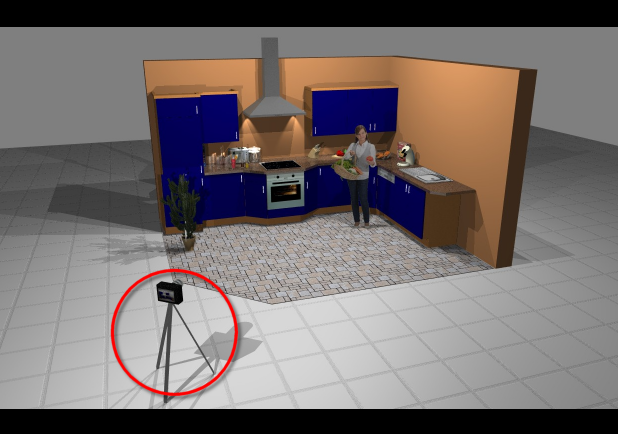
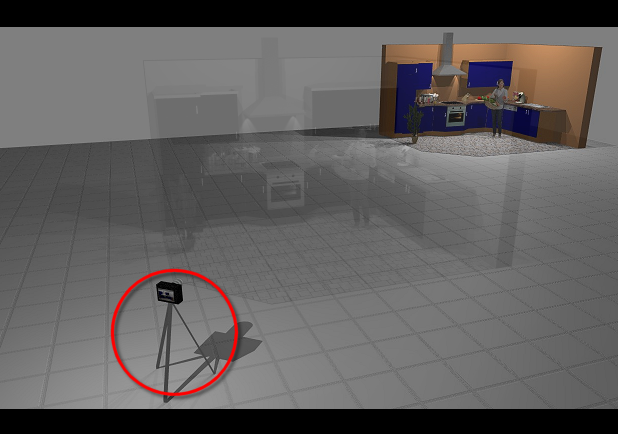
In camera mode you change the picture section in the perspective window by placing a virtual camera at any position desired, inside or outside the room. For this, you can also set the camera height, the view direction and the visual angle. To set the perspective in this way works as if you are moving through the room yourself, and you can even also turn or tilt your head in any direction.
- In camera mode, the room always stays at the same place. In order to enlarge or reduce the kitchen in the image display, you must either move toward or further away from the kitchen. The camera mode is optimally suited for movement directly within the room, because with it you can "look around" the kitchen very intuitively.
- When you move the virtual camera forward, into the room, the picture of the kitchen in the perspective will be enlarged..
The room rotation
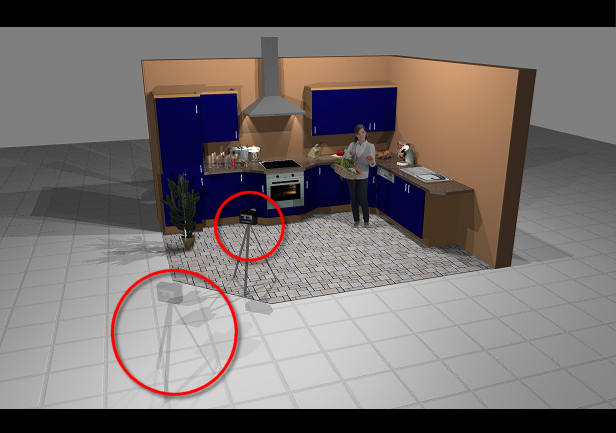
With the room rotation, you have a second option The word option (from Latin: optio = free will) used in computing means a choice. In CARAT it is normally used with a list box. for modifying the picture section in the perspective window. However, in this mode not the camera but rather the room itself moves. With room rotation, the camera always stays at the same position.
The room rotation is optimally suited for all perspectives for which you want to get an total overview of the room, thus for perspectives where the camera is clearly outside the room. In this mode, the virtual camera is stationary, and always aligned with the view direction at the centre of the room.
- With the control options in CARAT, you can move back and forth, and turn and tilt the entire room, including all planned articles, in front of the camera. For example, in order to enlarge the kitchen in the picture section of the perspective, you now would move the kitchen closer to the camera. To make the kitchen in the picture section smaller, you move the room away from the camera.
- When you move the room away from the camera, the picture of the kitchen in the perspective will be reduced.
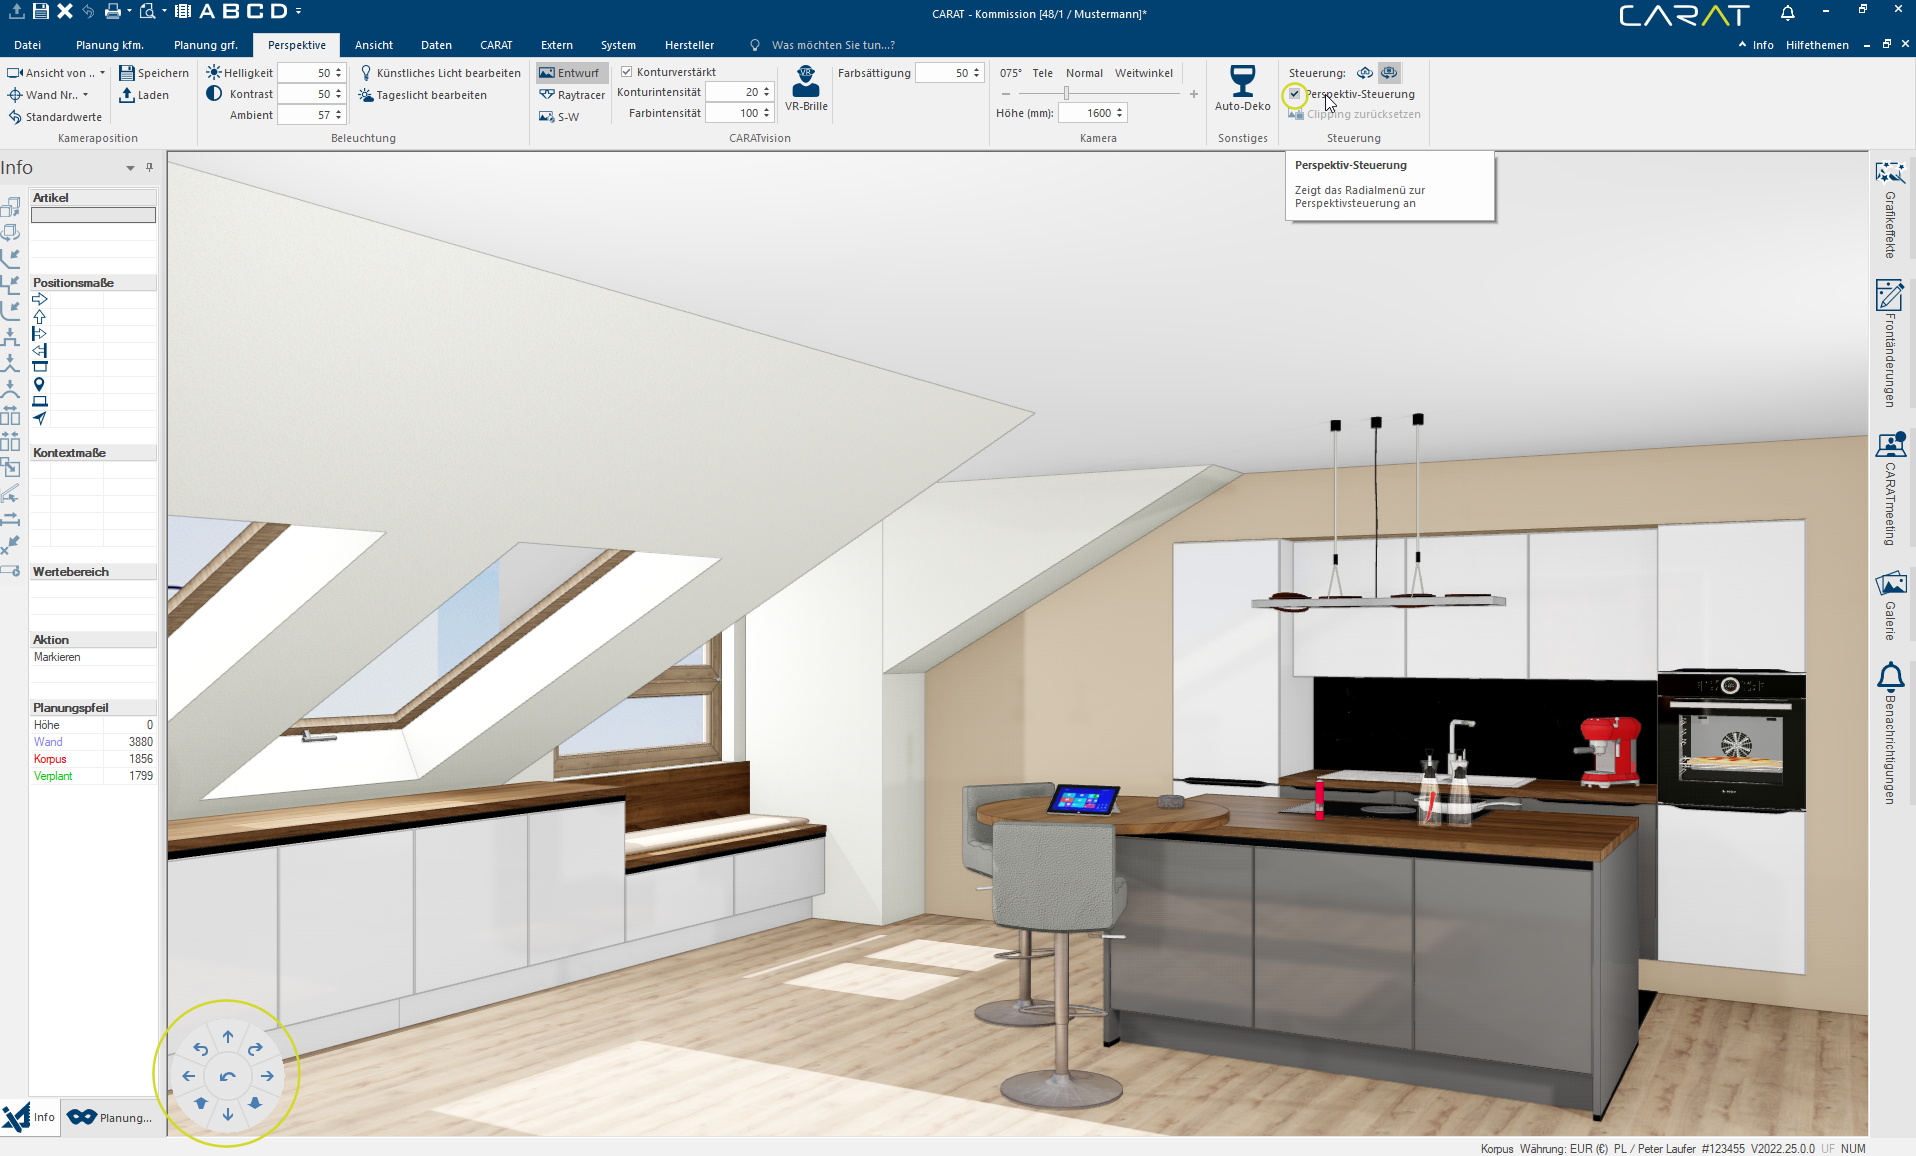
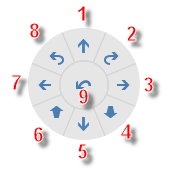
In order to get to any position in the scene, you can show an extra control element to control the camera easier. Activate for this the option Perspective control on the perspective index card in the menu ribbon. Thereupon, a pie menu with the typical directions of movement will be blended in at the bottom left corner of the perspective.
By using the symbol buttons In dialogue windows you always find one or more buttons that can be activated by clicking on them. Typical functions for buttons are e.g. OK, Cancel, Apply. Buttons are always activated by a single click with the left mouse button. of the pie menu, you can modify the position of the camera in the room, and change its line of sight in real time, and thus walk through the kitchen. If you rest your mouse pointer shortly over a button, you will see an on the mode depending relevant short info.
Camera mode
|
|
1 | Forward | Moving the camera forwards in the scene. |
| 2 | Pan, right | Pan the camera to the right. | |
| 3 | Sideways, right | Moving the camera sideways to the right. | |
| 4 | Cant, downward | Canting the camera downwards. | |
| 5 | Backward | Moving the camera backwards, away from the scene. | |
| 6 | Cant, upward | Canting the camera upwards. | |
| 7 | Sideways, left | Moving the camera sideways to the left. | |
| 8 | Pan, left | Pan the camera to the left. | |
| 9 | Standard position | Setting the standard position of the camera. |
Room Rotation
|
|
1 | Zoom out | Increasing the distance to the room. |
| 2 | Rotate, right | Rotate the room to the right. | |
| 3 | Sideways, right | Moving the room sideways to the right. | |
| 4 | Tilt, backward | Tilting the room backwards. | |
| 5 | Zoom in | Decreasing the distance to the room. | |
| 6 | Tilt, forward | Tilting the room forwards. | |
| 7 | Sideways, left | Moving the room sideways to the left. | |
| 8 | Rotate, left | Rotate the room to the left. | |
| 9 | Standard position | Setting the standard position of the camera. |
When Room rotation is activated or in Camera mode, you can also use your keyboard to move around in the scene.
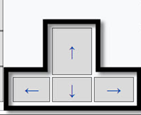
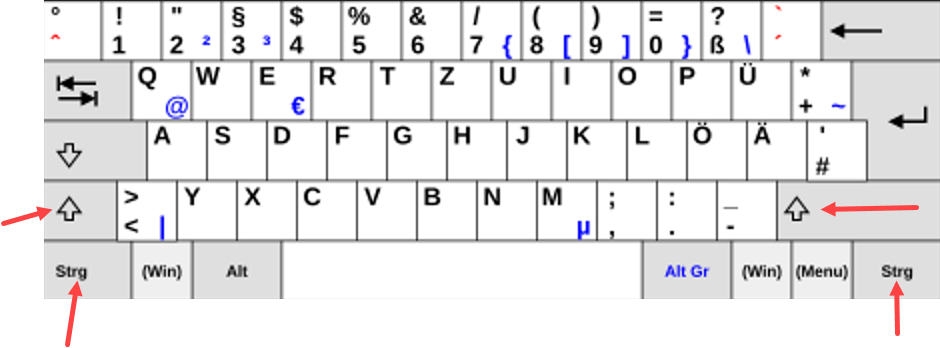
The various Control options work by tapping the Arrow key The arrow keys, also named keys, are four buttons identified with arrow labels, usually arranged in one group, on the computer keyboard. Usually, there are exactly four arrows, up, down, left and right, arranged like on a compass or a podium. Arrow keys are used to move the cursor. They are helpful in menu-supported displays, to quickly select the desired menu item. or by executing the key combinations Ctrl + Arrow key, as well as Shift + Arrow key and Ctrl + Shift + Arrow key.
|
Key or Key combination |
Control |
|
Arrow to the Left |
Laterally to the left: Moving the room sideways to the left. |
|
Arrow to the Right |
Laterally to the right: Moving the room sideways to the right. |
|
Arrow upwards |
Zoom out: Increasing the distance to the room. |
|
Arrow downwards |
Zoom in: Decreasing the distance to the room. |
|
Ctrl + Arrow to the Left |
Step by step, laterally to the left: Moving the room step by step sideways to the left. |
|
Ctrl + Arrow to the Right |
Step by step, laterally to the right: Moving the room sideways to the right step by step. |
|
Ctrl + Arrow upwards |
Upwards: Moving the room upwards. |
|
Ctrl + Arrow downwards |
Downwards: Moving the room downwards. |
|
Shift + Arrow to the Left |
Rotate, left: Rotate the room to the left. |
|
Shift + Arrow to the Right |
Rotate, right: Rotate the room to the right. |
|
Shift + Arrow upwards |
Tilt, forwards: Tilting the room forwards. |
|
Shift + Arrow downwards |
Tilt, backwards: Tilting the room backwards. |
|
Ctrl + Shift + Arrow to the Left |
Step by step, turning to the left: Turning the room to the left step by step. |
|
Ctrl + Shift + Arrow to the Right |
Step by step, turning to the right: Turning the room to the right step by step. |
|
Ctrl + Shift + Arrow upwards |
Step by step, tilting forwards: Tilting the room forwards step by step. |
|
Ctrl + Shift + Arrow downwards |
Step by step, tilting backwards: Tilting the room backwards step by step. |
|
Key or Key combination |
Control |
|
Arrow to the Left |
Sideways, to the left: Moving the camera sideways to the left. |
|
Arrow to the Right |
Sideways, to the right: Moving the camera sideways to the right. |
|
Arrow upwards |
Forward: Moving the camera forwards in the scene. |
|
Arrow downwards |
Backward: Moving the camera backwards, away from the scene. |
|
Ctrl + Arrow to the Left |
Pan, to the left: Pan the camera to the left. |
|
Ctrl + Arrow to the Right |
Pan, to the right: Pan the camera to the right. |
|
Ctrl + Arrow upwards |
Pan, upwards: Pan the camera upwards. |
|
Ctrl + Arrow downwards |
Pan, downwards: Pan the camera downwards. |
|
Shift + Arrow to the Left |
Sideways, turning to the left: Turning the camera sideways to the left. |
|
Shift + Arrow to the Right |
Sideways, turning to the right: Turning the camera sideways to the right. |
|
Shift + Arrow upwards |
Cant, upwards: Canting the camera upwards. |
|
Shift + Arrow downwards |
Cant, downwards: Canting the camera downwards. |
|
Ctrl + Shift + Arrow to the Left |
Step by step, turning laterally to the left: Turning the camera sideways to the left step by step. |
|
Ctrl + Shift + Arrow to the Right |
Step by step, turning laterally to the right: Turning the camera sideways to the right step by step. |
|
Ctrl + Shift + Arrow upwards |
Step by step, cant upwards: Canting the camera upwards step by step. |
|
Ctrl + Shift + Arrow downwards |
Step by step, cant downwards: Canting the camera downwards step by step. |
It allows the kitchen planner an even more simple and quicker handling in the perspective. Walking through the virtual dream kitchen in real-time becomes more realistic and, due to the intuitive operational concept of the 3D-Mouse, even the customer him/herself can move around in the new kitchen.
With a 3D mouse the navigation occurs via a cap, that can move in 6 directions. Furthermore, commands for applications can be saved and operated with one key press via programmable key's. Studies have shown that 3D-designers already can improve their productivity, only because they can operate a 3D mouse with the non-dominant hand besides the operation of a normal mouse.
Simple Navigation
By touching the cap of the 3D-mouse you can move, zoom and turn models or objects on your screen simultaneously, without using your normal mouse.
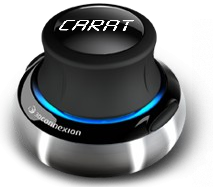
The 6 degrees of freedom allow for a positioning of a model or a scene in a three dimensional room with one single intuitive, flowing motion.

You will find more information about the 3D-mouse SpaceNavigator shown above under: www.3dconnexion.de
It only takes slight movements with the cap of the 3D-mouse to navigate the view in the perspective. The 6 axes and 2 key's of the 3D-mouse are for CARAT allocated as follows:
|
|
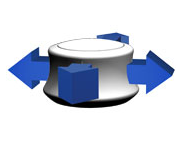
Depending on the mode, you can move the camera or the room to the front, the back or to the left, the right if you move the cap of your 3D-mouse over both horizontal axes. |
|
|
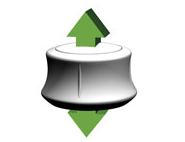
If you lift or press down the cap of your 3D-mouse slightly, you can change the view height. |
|
|
You can control the view direction when you rotate the cap of your 3D-mouse around the vertical axis. |
|
|
If you tilt the cap of your 3D-mouse to the front or the back you can also tilt the view direction upwards or downwards. |
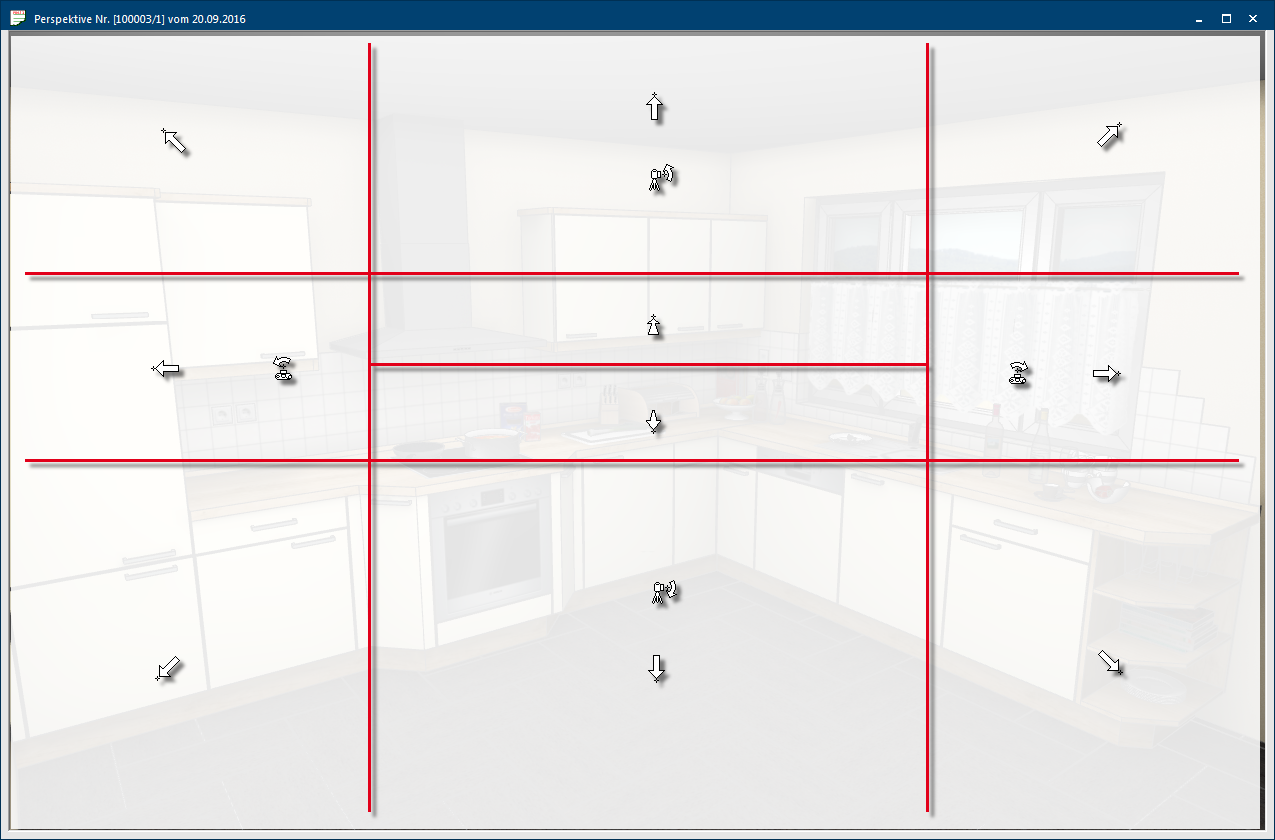
You can also move the camera in the perspective window directly by mouse click. For this is the perspective window divided in 10 area's. Depending on where you click, and if the caps button (shift-key The Shift-key is a key that appears on the computer keyboard and type writer. The key is most often used to make lower-case letters into upper-case letters by holding it down while selecting the relevant letter.) is clicked additionally, the camera can be moved accordingly. For this please note the following illustration of the area's.
| Symbols: | Description: |
|---|---|

|
If you move the mouse at the edge of each middle area, the symbol of the mouse pointer changes to show that the camera can be moved upwards, downwards, to the left or the right. |

|
If you move the mouse at the edge of each middle area and you click the caps button at the same time, the symbol of the mouse pointer changes to show that the camera can be tilted upwards or downwards, or be panned to the left or the right. |

|
If you move the mouse in the corners of the perspective window, the symbol of the mouse pointer changes, to show that the camera can be moved slanting upward left, upward right, downward right or downward left. |

|
If you move the mouse pointer a little above or below the middle of the centre area of the perspective window, the symbol of the mouse pointer changes, to show that you can move the camera in and out of the scene. |
The Setting Options
You will find all setting options you need for displaying the perspective on the menu ribbon of the Perspective index card. The index card appears automatically in the foreground as soon as you open or click on the perspective window.
You can define from where the camera should look into the scene via the area camera position (View from...front view, back view, left view, right view or bird's eye view). As an alternative can the camera also be aligned centrally on a wall (wall no...). The camera can be restored to the CARAT-standard by using the standard values function.
You can call up the dialogue Dialogue, dialogue windows or dialogue fields are special windows in software applications. Dialogue windows are displayed by application programs in different situations to request input or confirmation from the user. for the camera position via the save and load buttons.
- See also: The Camera Position
You can set the overall Brightness, the Contrast and the Portion of ambient light in the illumination group. If desired you can modify and save the default settings for the three lighting controls in the system options. In this area there are another two additional functions available with which you can modify all artificial light sources, or can set the daylight according you whishes, if activated. In addition, in the Modify daylight area you have the option of showing a Panorama background.
- See also: Default Measurements
- See also: Artificial light
- See also: The Daylight
By clicking on the symbols in this group you can switch between the different views of the perspective. One click on the Design symbol enables the quick creation of a perspective. 
-
By clicking on the Raytracer Raytracing is a mathematical method that copies the natural vision. With Raytracing is a trick used: the reversal of the light rays from the virtual eye in the virtual room, so that only those light rays, that actually would reach the eye in the selected position, are calculated. symbol you can have the perspective be calculated in a higher quality, in order to obtain also intricate gloss and reflection effects.

-
By clicking on the Black/White symbol you can display the planning as a Black and white drawing in the perspective.

When Contour intensified is activated, the contours of the planning in the perspective will be emphasised. You can furthermore change the percentage values for the Contour intensity and the Colour intensity for contour intensified display here.
You start another integrated function by clicking on de VR glasses symbol , with which you can start of end the VR-mode. So that the perspective can be viewed through VR glasses.
Finally, this group contains the Colour saturation field, which you can use to change the percentage value for the Colour saturation of the perspective.
The CARAT emotion symbol can be used to start and stop the CARAT emotion view.
When you click on Settings, a window in which you can adapt the visual details such as Colouring and Lighting by using the sliding controllers will open, so that you can optimise the presentation of your scene in the CARAT emotion view.
You can change the view angle of the camera with a sliding controller. There are three quick buttons above the sliding controller, in order to be able to switch quickly between Tele (50°), Normal (75°) and Wide angle (140°). You can set the height of the camera underneath the view angles.
The Auto-Deco function is situated in the group miscellaneous, with this function you can ad Addition (in Latin: addere) is one of four basic operations in arithmetic. In primary school and in common language it is the expression used for the adding of two or more numbers. automatically decoration articles to your design.
You can switch between the camera mode and the room rotation via the control group. Here, the Perspective-control, the pie menu already described further above, can additionally be faded in or out. Click on Reset clipping to reset a clipping pane. If there is no clipping pane, this field is shown greyed out.
